Setting up an Azure Load-balancer with a Virtual Machine scale set on Azure
(A step by step guide)


Azure Load Balancer and Virtual Machine Scale Sets (VMSS) are two essential components in Microsoft Azure that help ensure high availability, scalability, and reliability of applications.
Azure Load Balancer is a networking service provided by Microsoft Azure that enables the distribution of incoming network traffic across multiple servers to ensure no single server becomes a bottleneck. The primary purpose of Azure Load Balancer is to enhance the availability, fault tolerance, and scalability of applications hosted in the Azure cloud environment.
Virtual Machine Scale Sets (VMSS) is a service in Microsoft Azure that allows you to deploy and manage a group of identical, load-balanced virtual machines. VMSS is designed to provide high availability and scalability for applications. It simplifies the deployment and management of a set of VMs by treating them as a single entity.
So in this guide we are going to set up an Azure Load-balancer with a Virtual Machine scale set on Azure
Here are the steps we are going to follow.
1. Create a Vnet.
2. Create a load-balancer with an empty back-end pool.
3. Create a Virtual Machine Scale set and add to the back-end pool.
4. Test out the load-balancer.
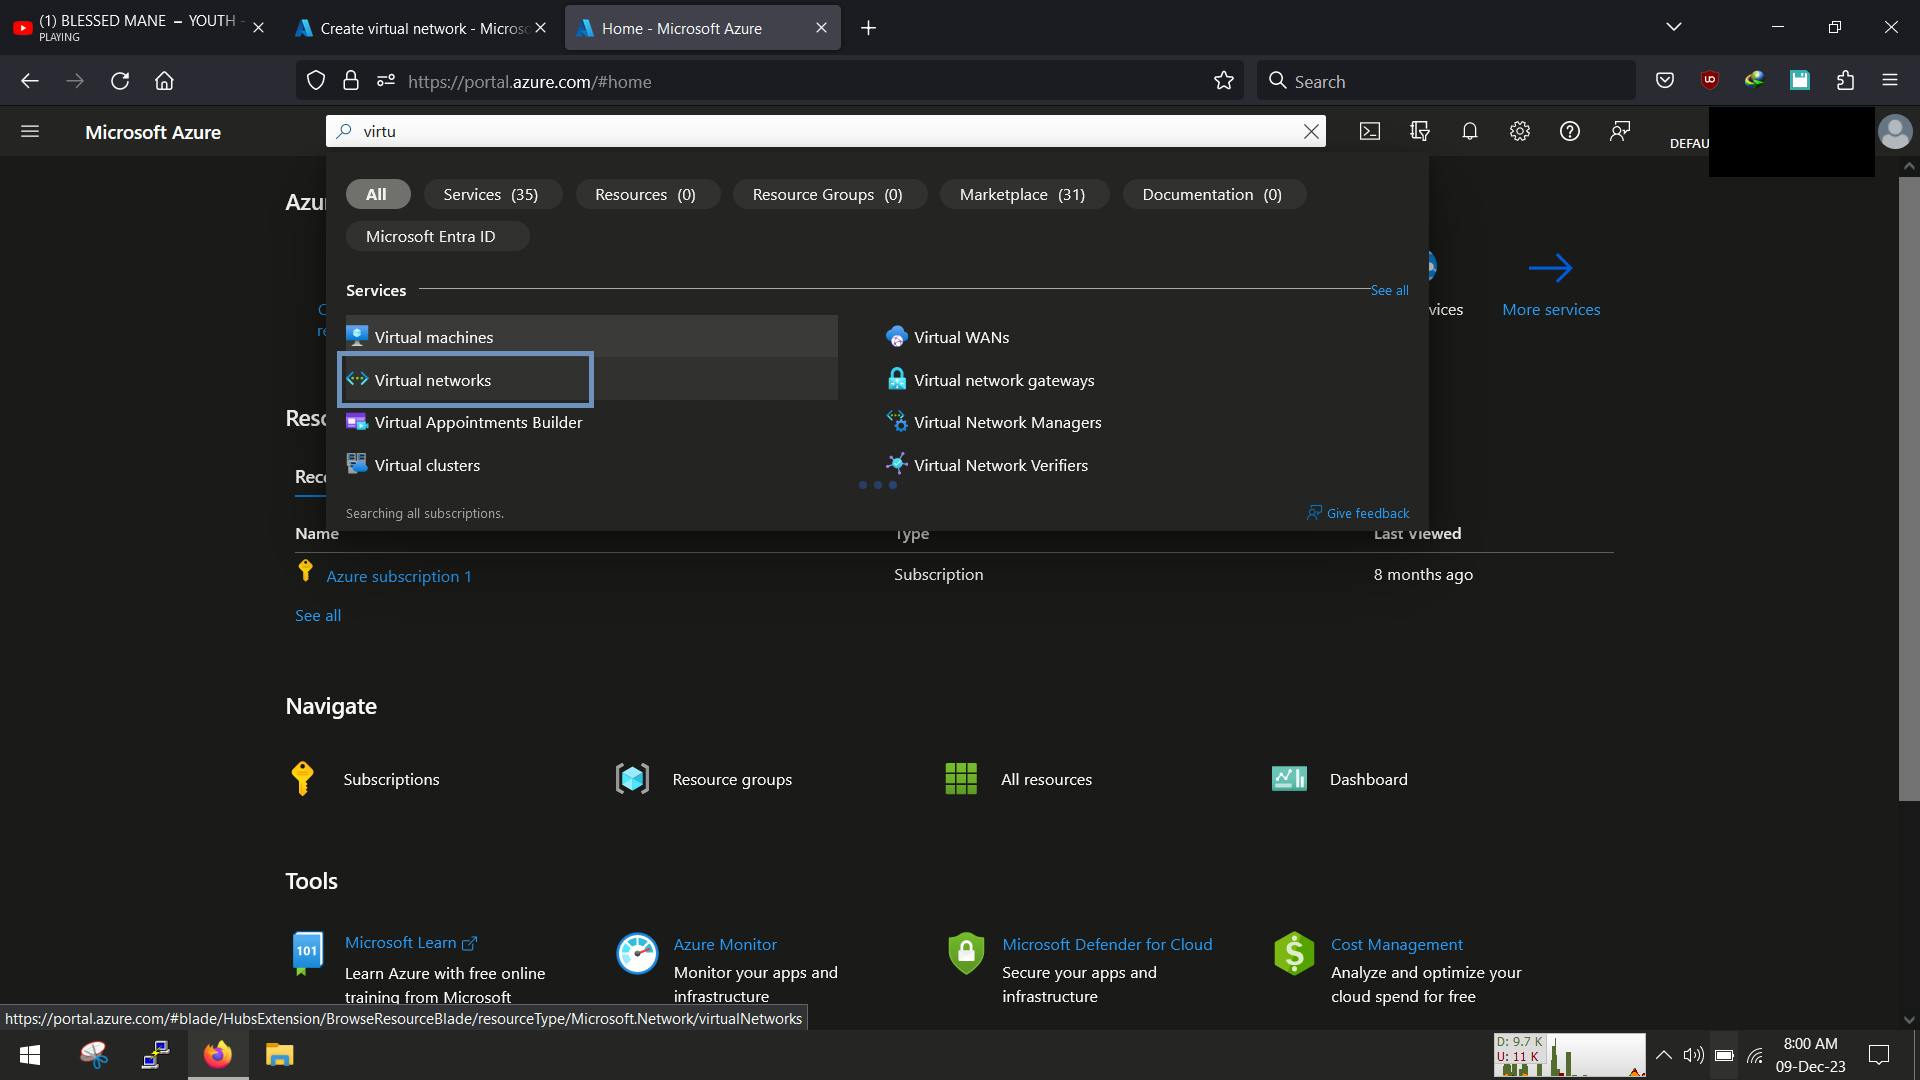
Step 1. Create a Virtual Network
Head over to the console and search for virtual network, so that we create a custom VPC , click create
Starting at this point we would also create our resource group which we will use to keep all our resources in, give your VPC a name, select your desired region and proceed

You can skip the "Security" tab as we are not yet going to use Firewalls/DDOS protection, however on the IP Address tab, we can set up the CIDR block and the subnets. we need 2 subnets 1 for the VM and 1 for the gateway
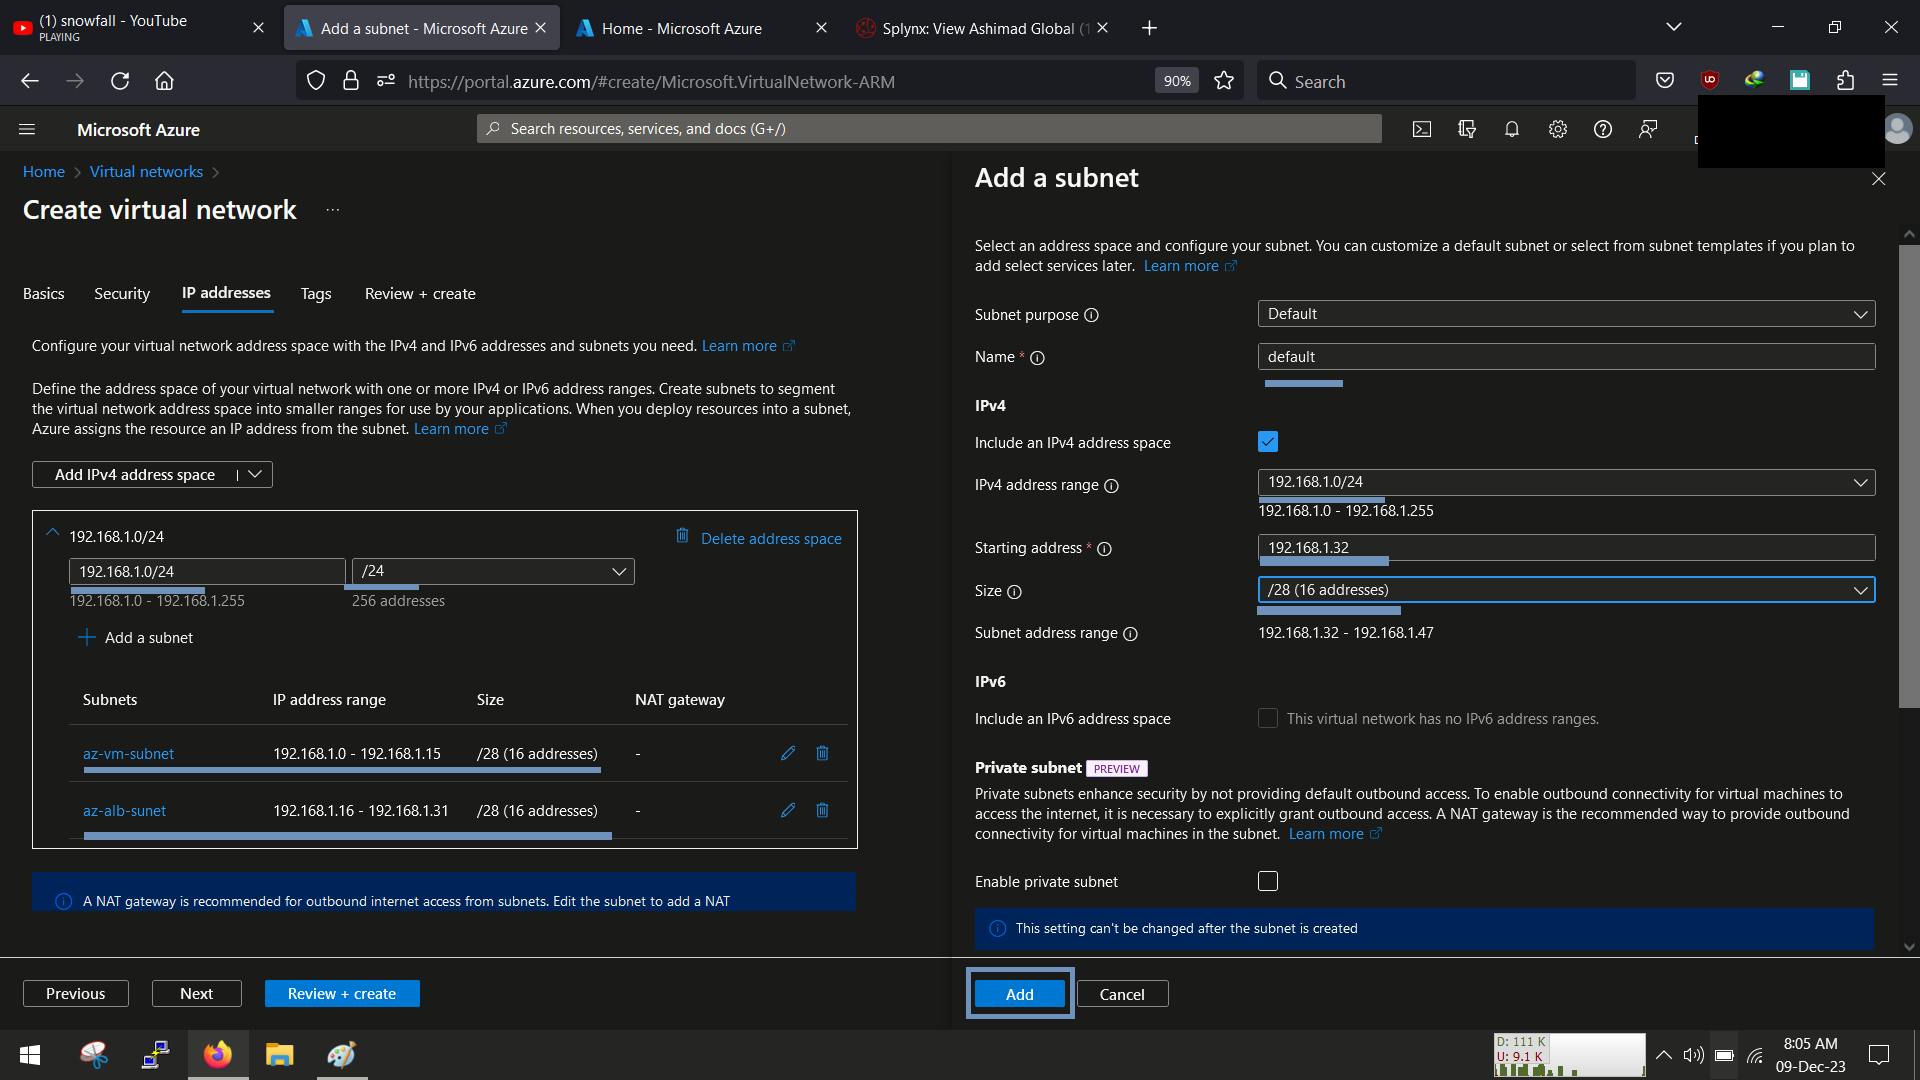
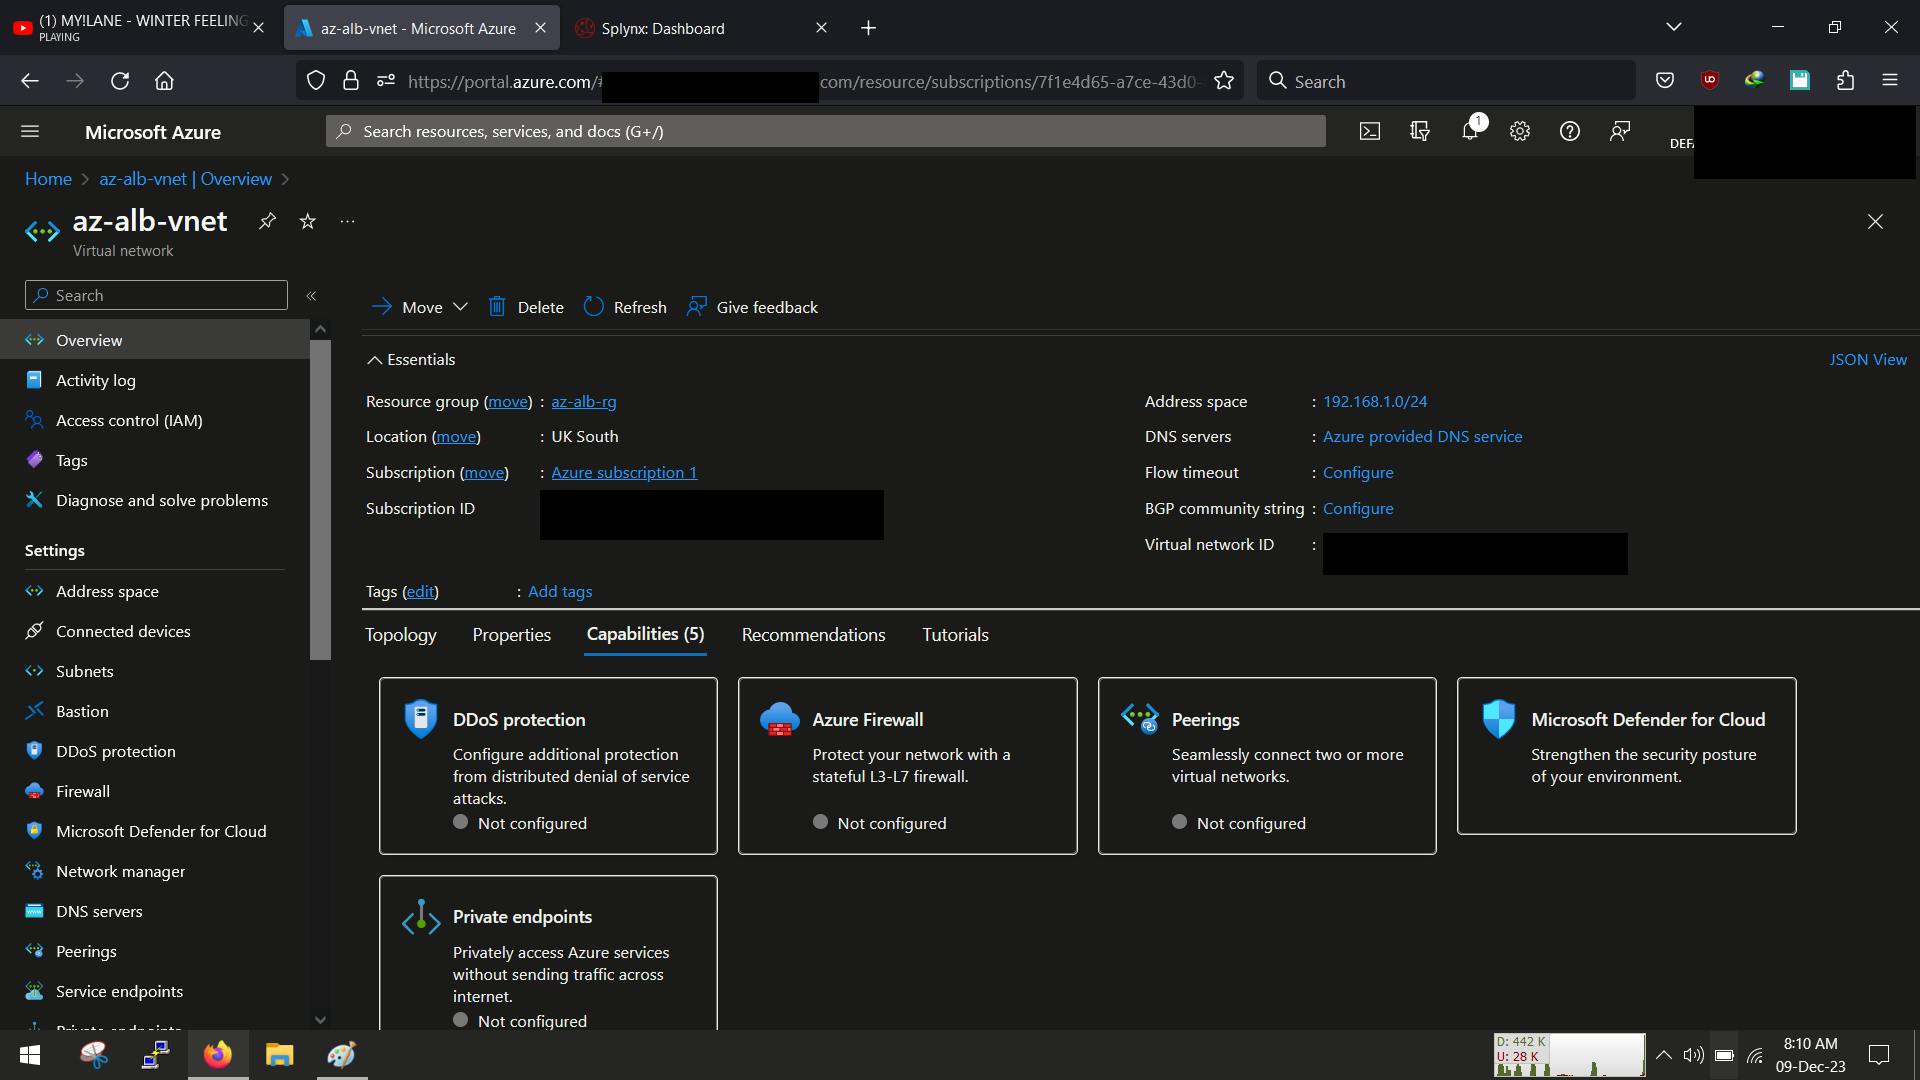
When done click on "Review+create" and we should have our Vnet ready
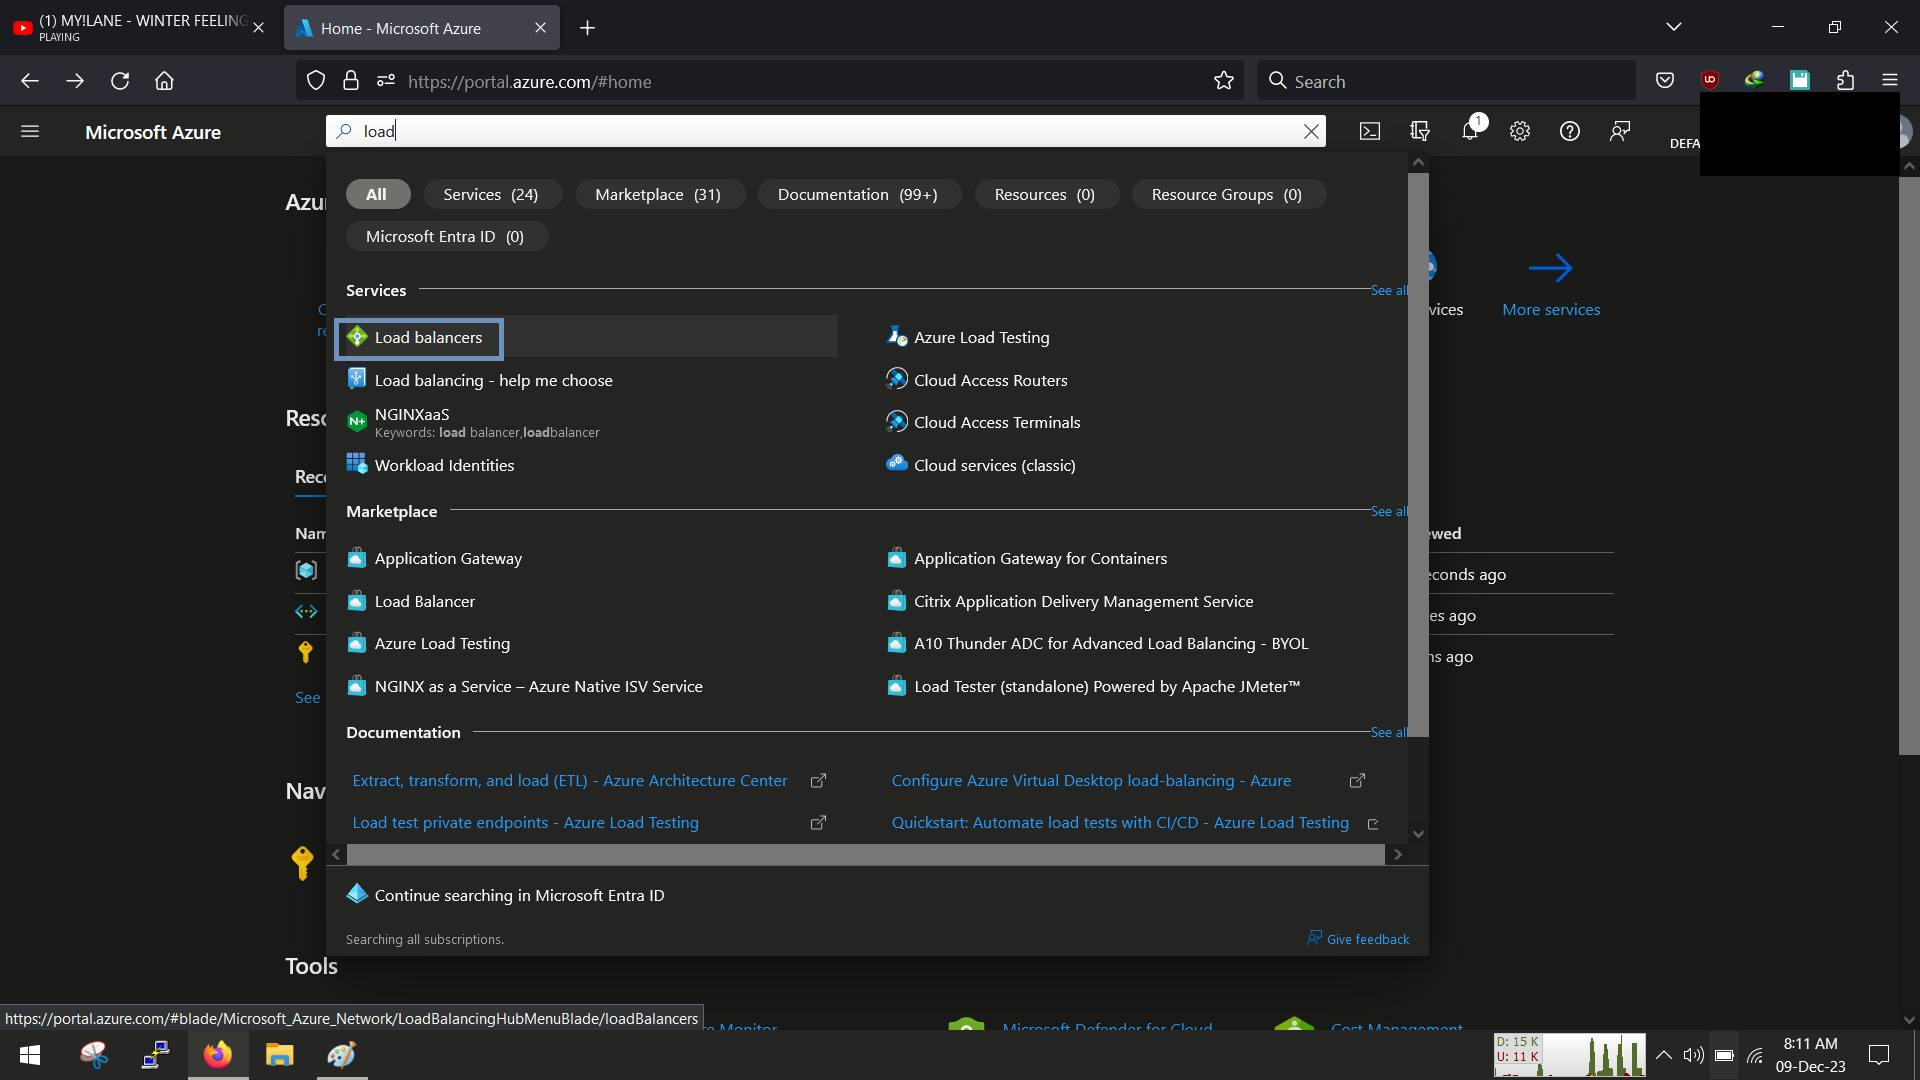
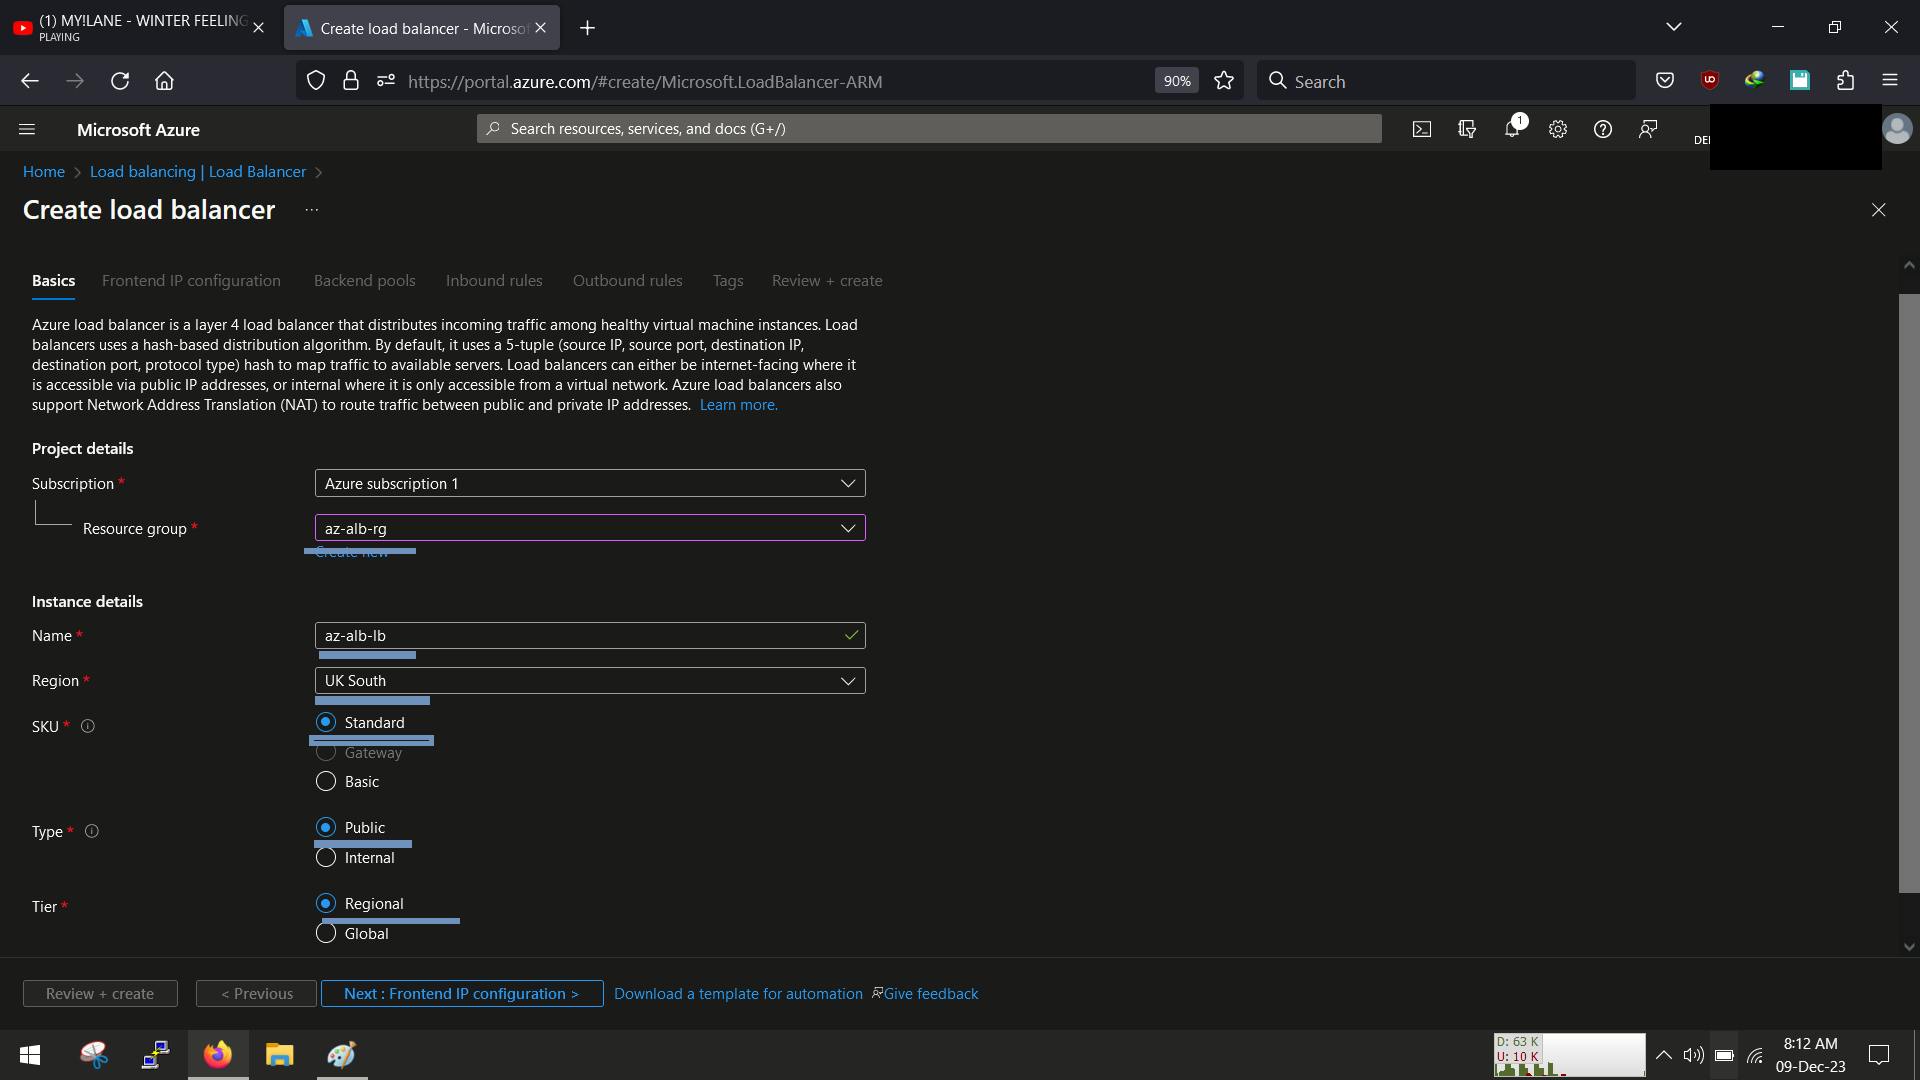
Step 2. Create a load-balancer
We will be using a load balancer to distribute the traffic between the virtual machines on the console search for load-balancer and click create
Select load balancer type and click create

Here we will set the specifications of the type of load balancer the tier
- sku - standard
- type - public
- tier - regional
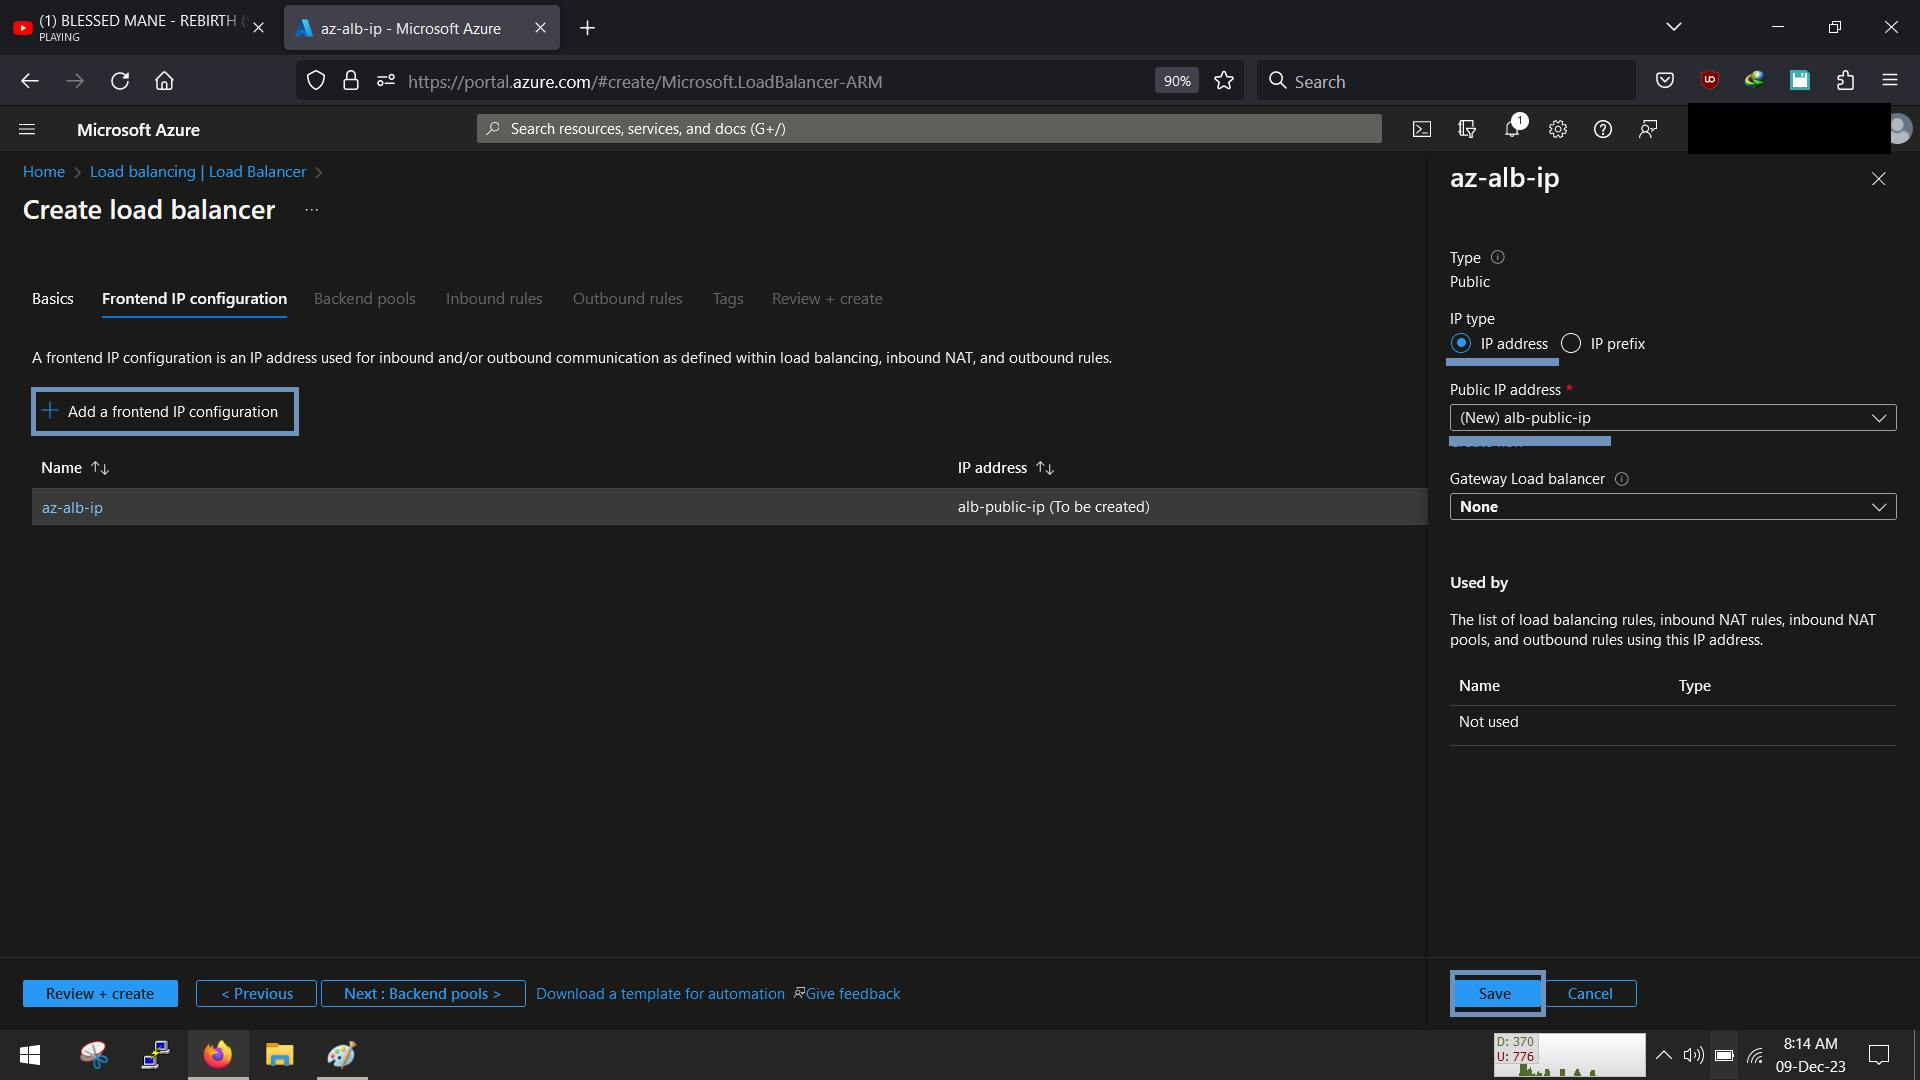
next give the load balancer a public IP
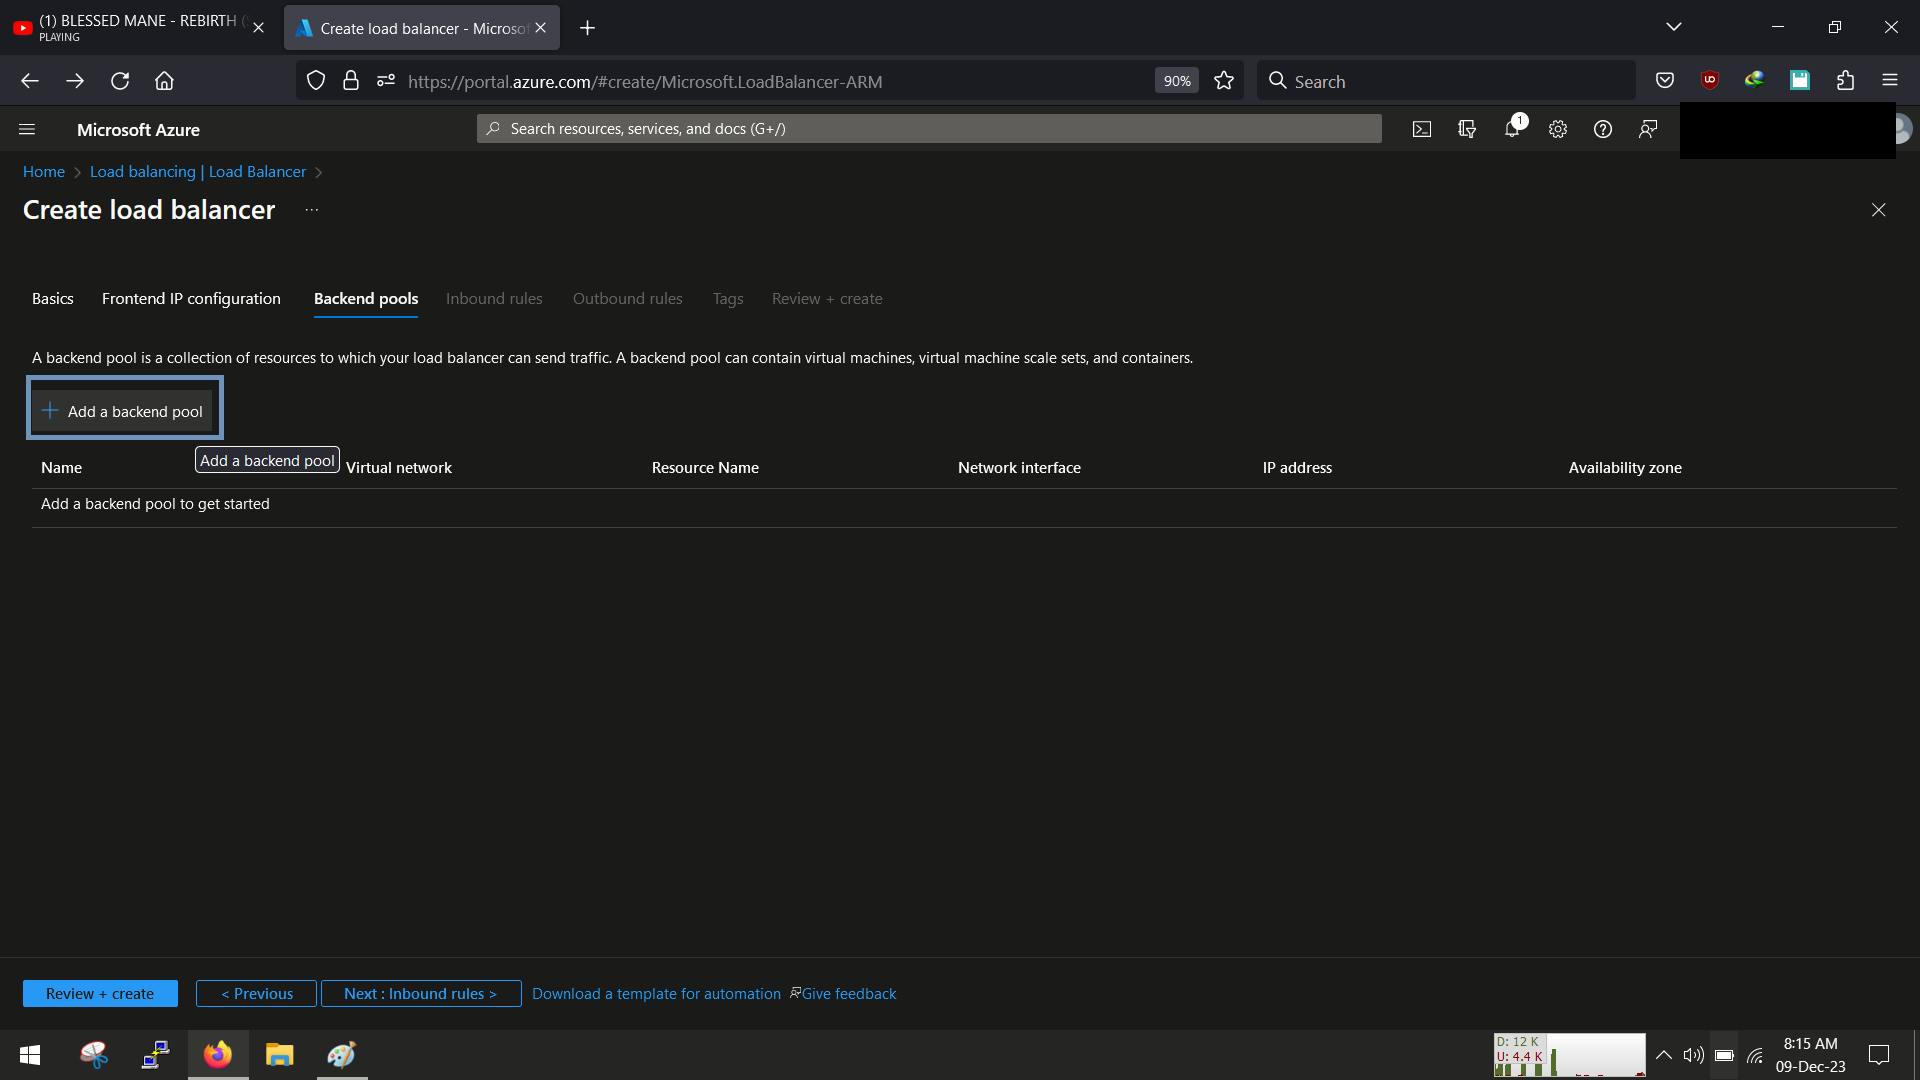
The next step is to create a back-end pool, so click on "add a backend-pool"
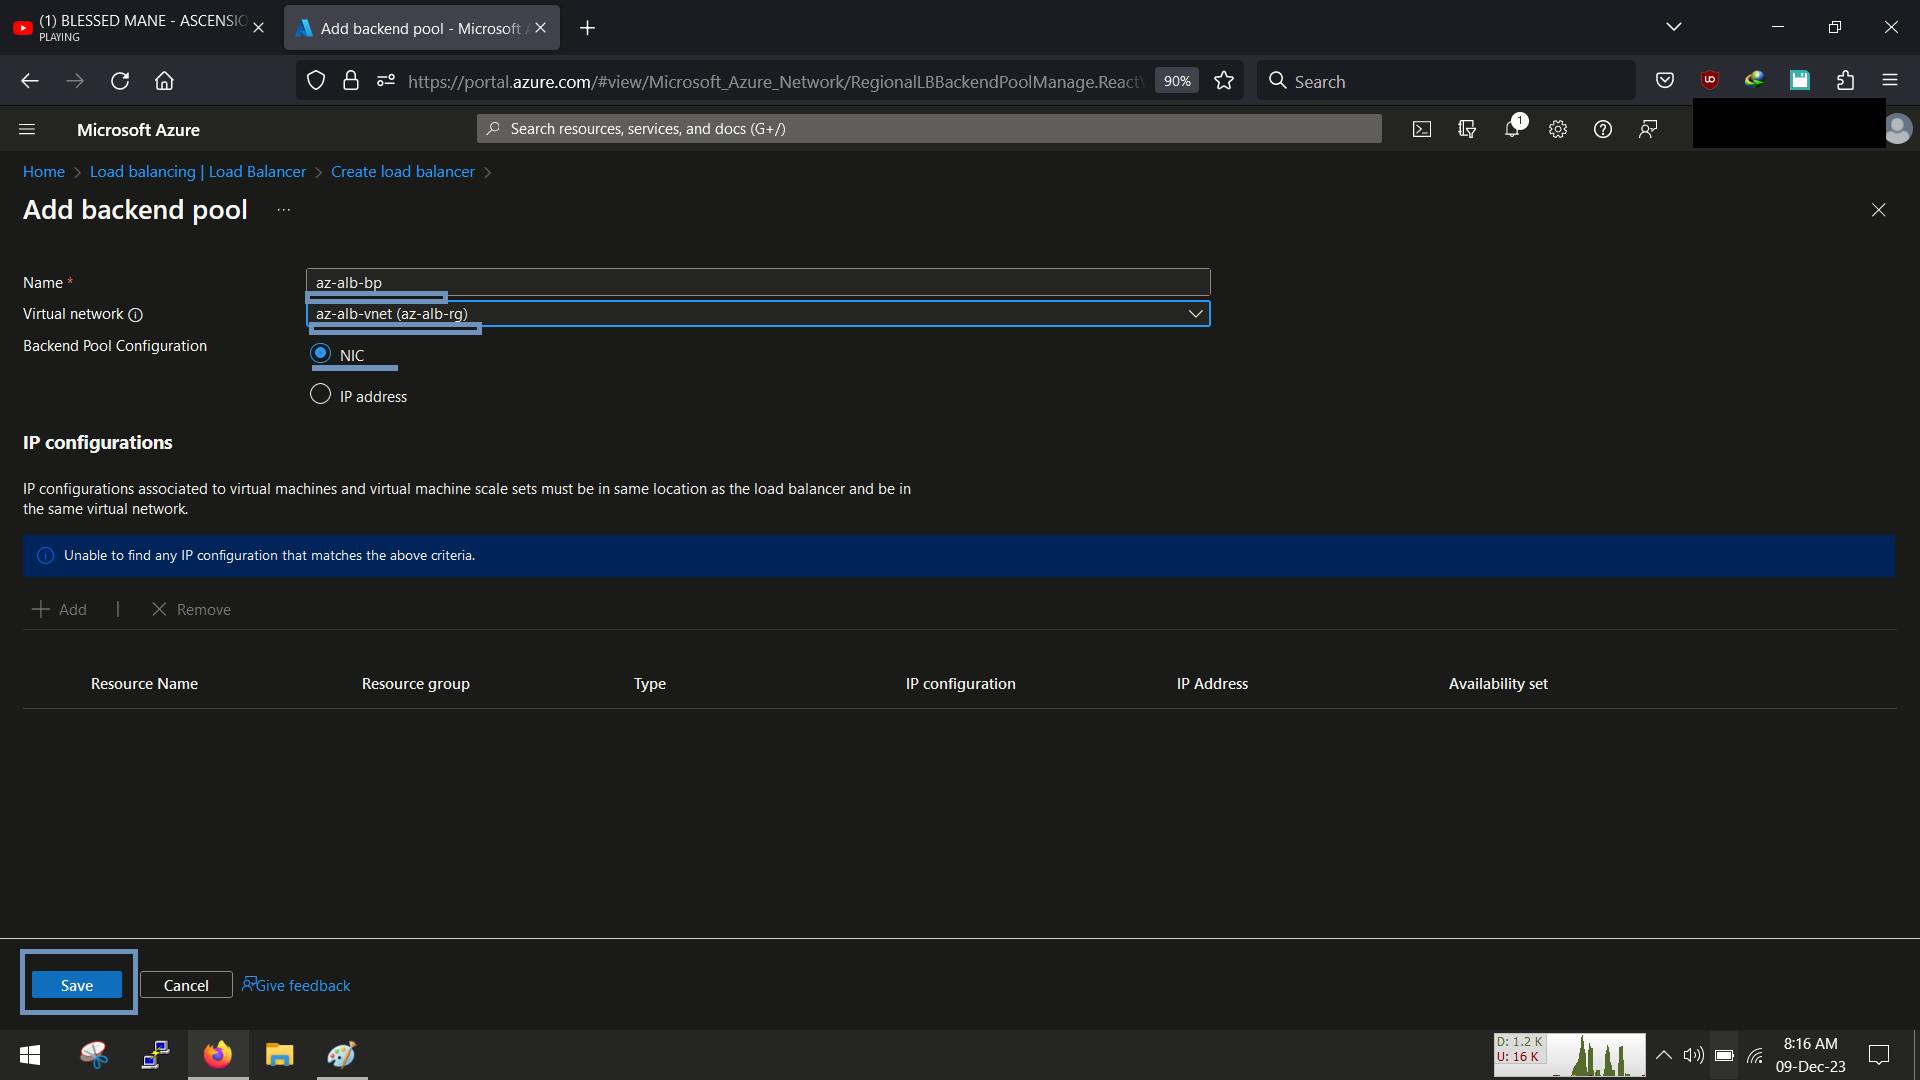
So, Select the virtual network we created and set the back-end pool configuration to select available NIC. As earlier mentioned, we will create an empty back-end pool and later attach the VMSS to it.
NB: This will help the load-balancer to direct traffic to the new instances as the VMSS scales out
next we create the inbound and outbound rules, think of the rules as listeners and how it routes traffic to the pools for the inbound rules here are the specifications to use (the initial values are sometimes auto-filled but can be changed)
- IP version - IPv4
- protocol - TCP
- Port - 80
- back-end port
- session persistence - none

for the outbound rules, the outbound rules are used for the SNAT for back-end (for the VM to be able access the internet)

Once done, go ahead click "review+create" and create the Load-balancer
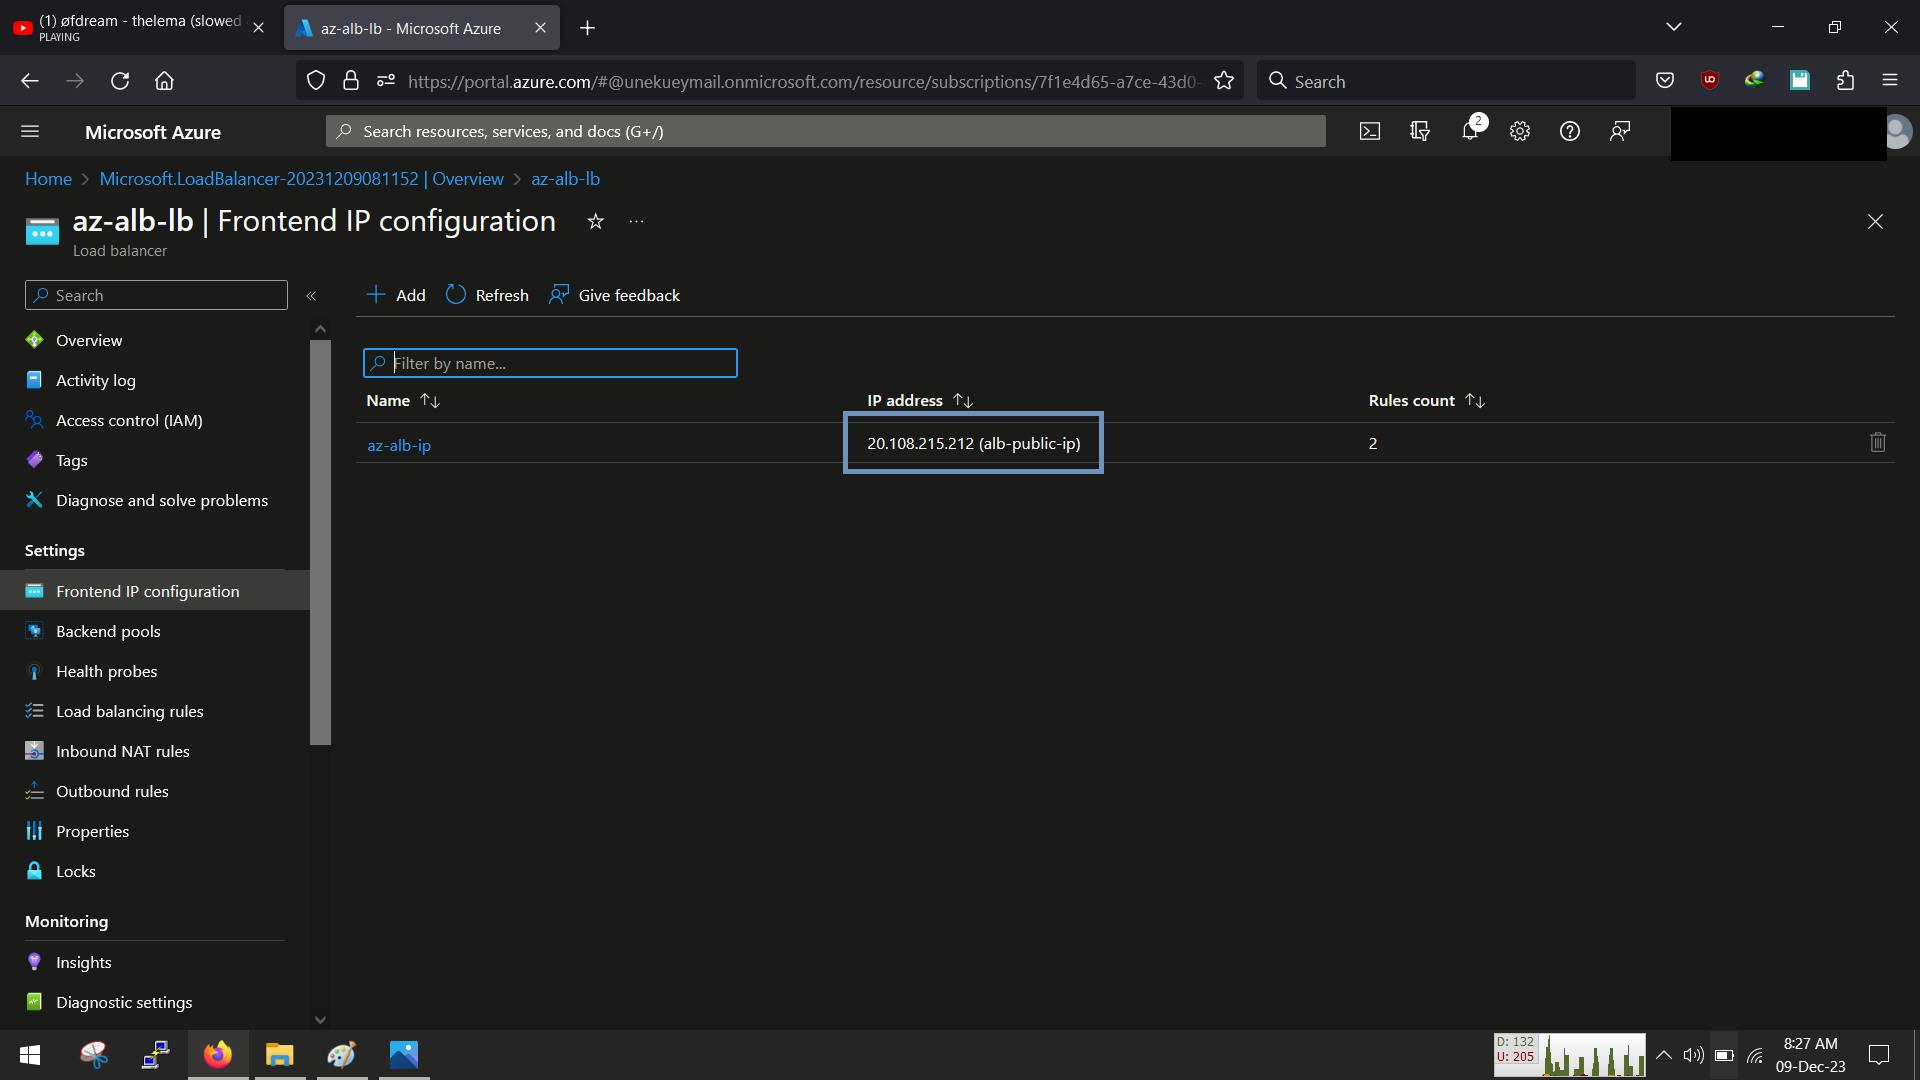
Once its up, click on the front-end configuration and then we can see the IP address of the load-balancer
Step 3. Create a VMSS
Here we are going to set up a virtual machine scale set, this will help us manage the scaling in and scaling out of our VM when the high/less traffic
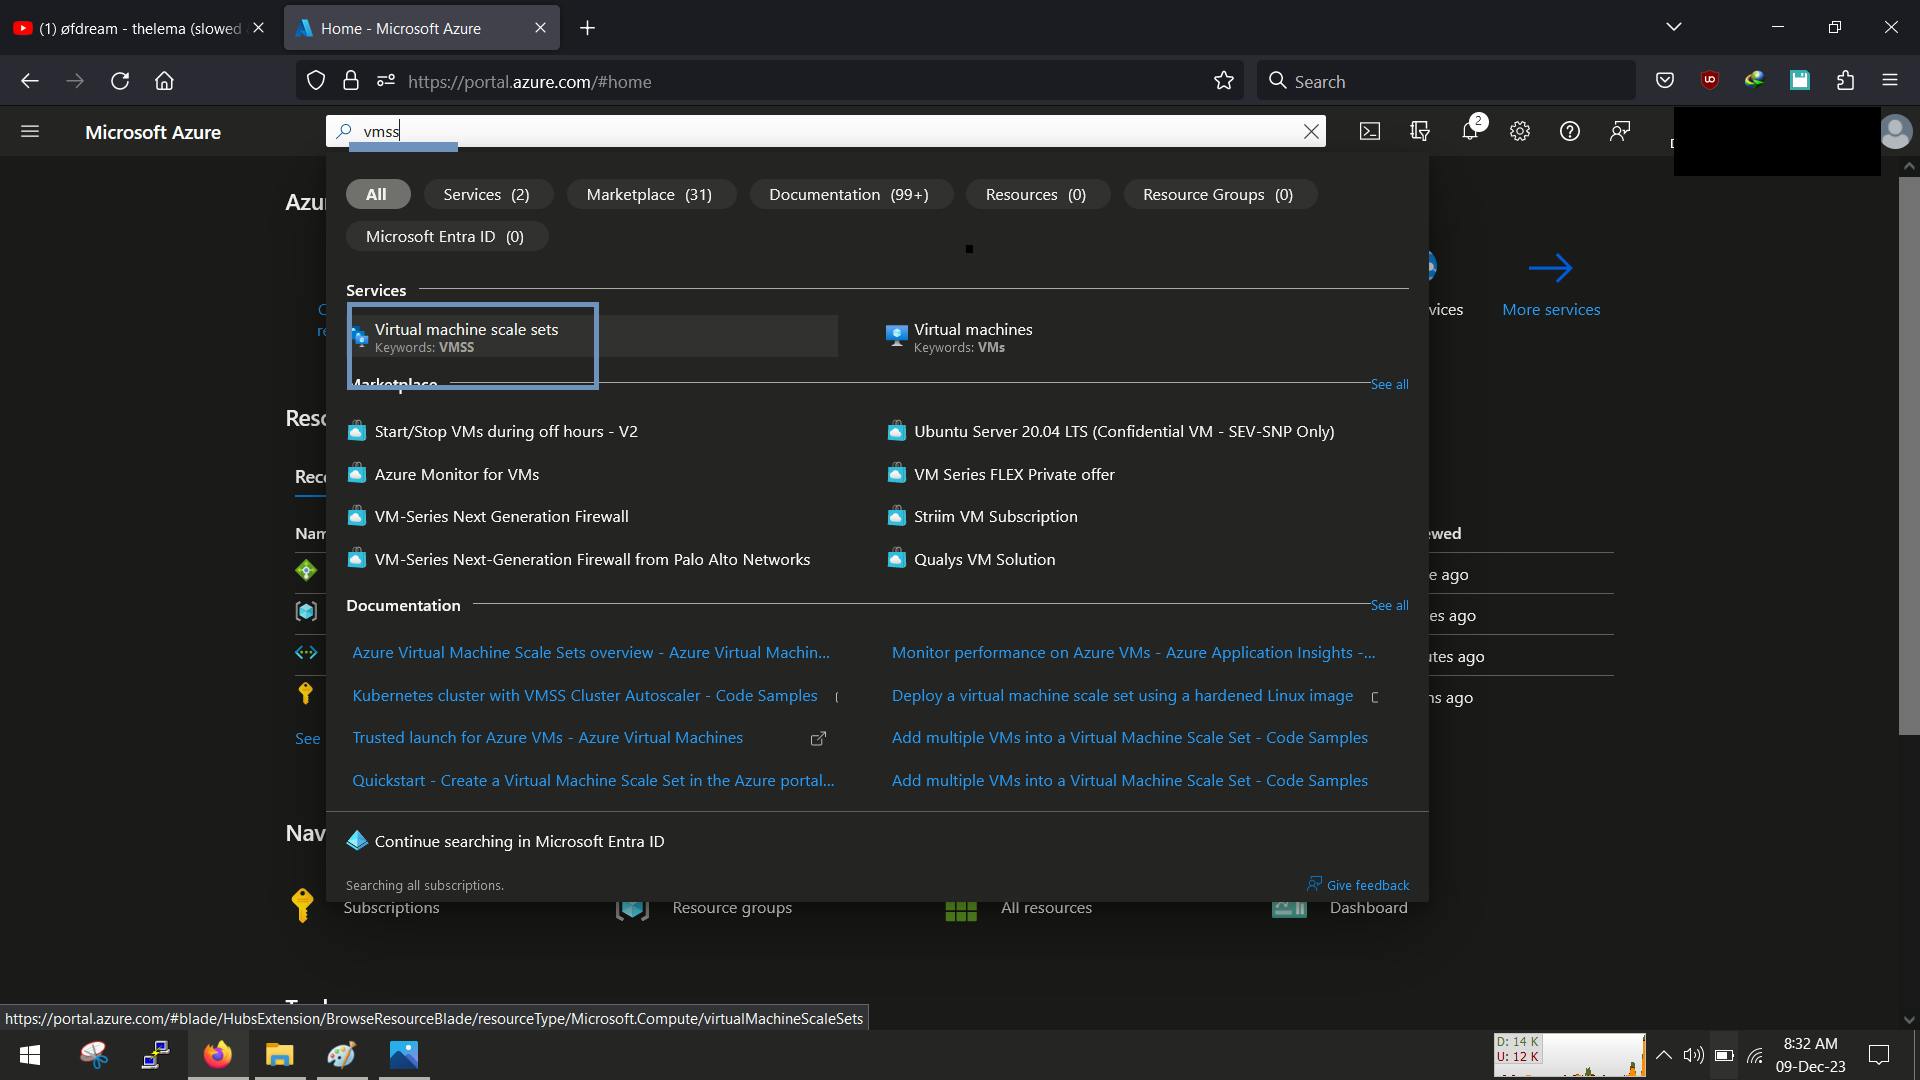
Head over to the console and search for VMSS
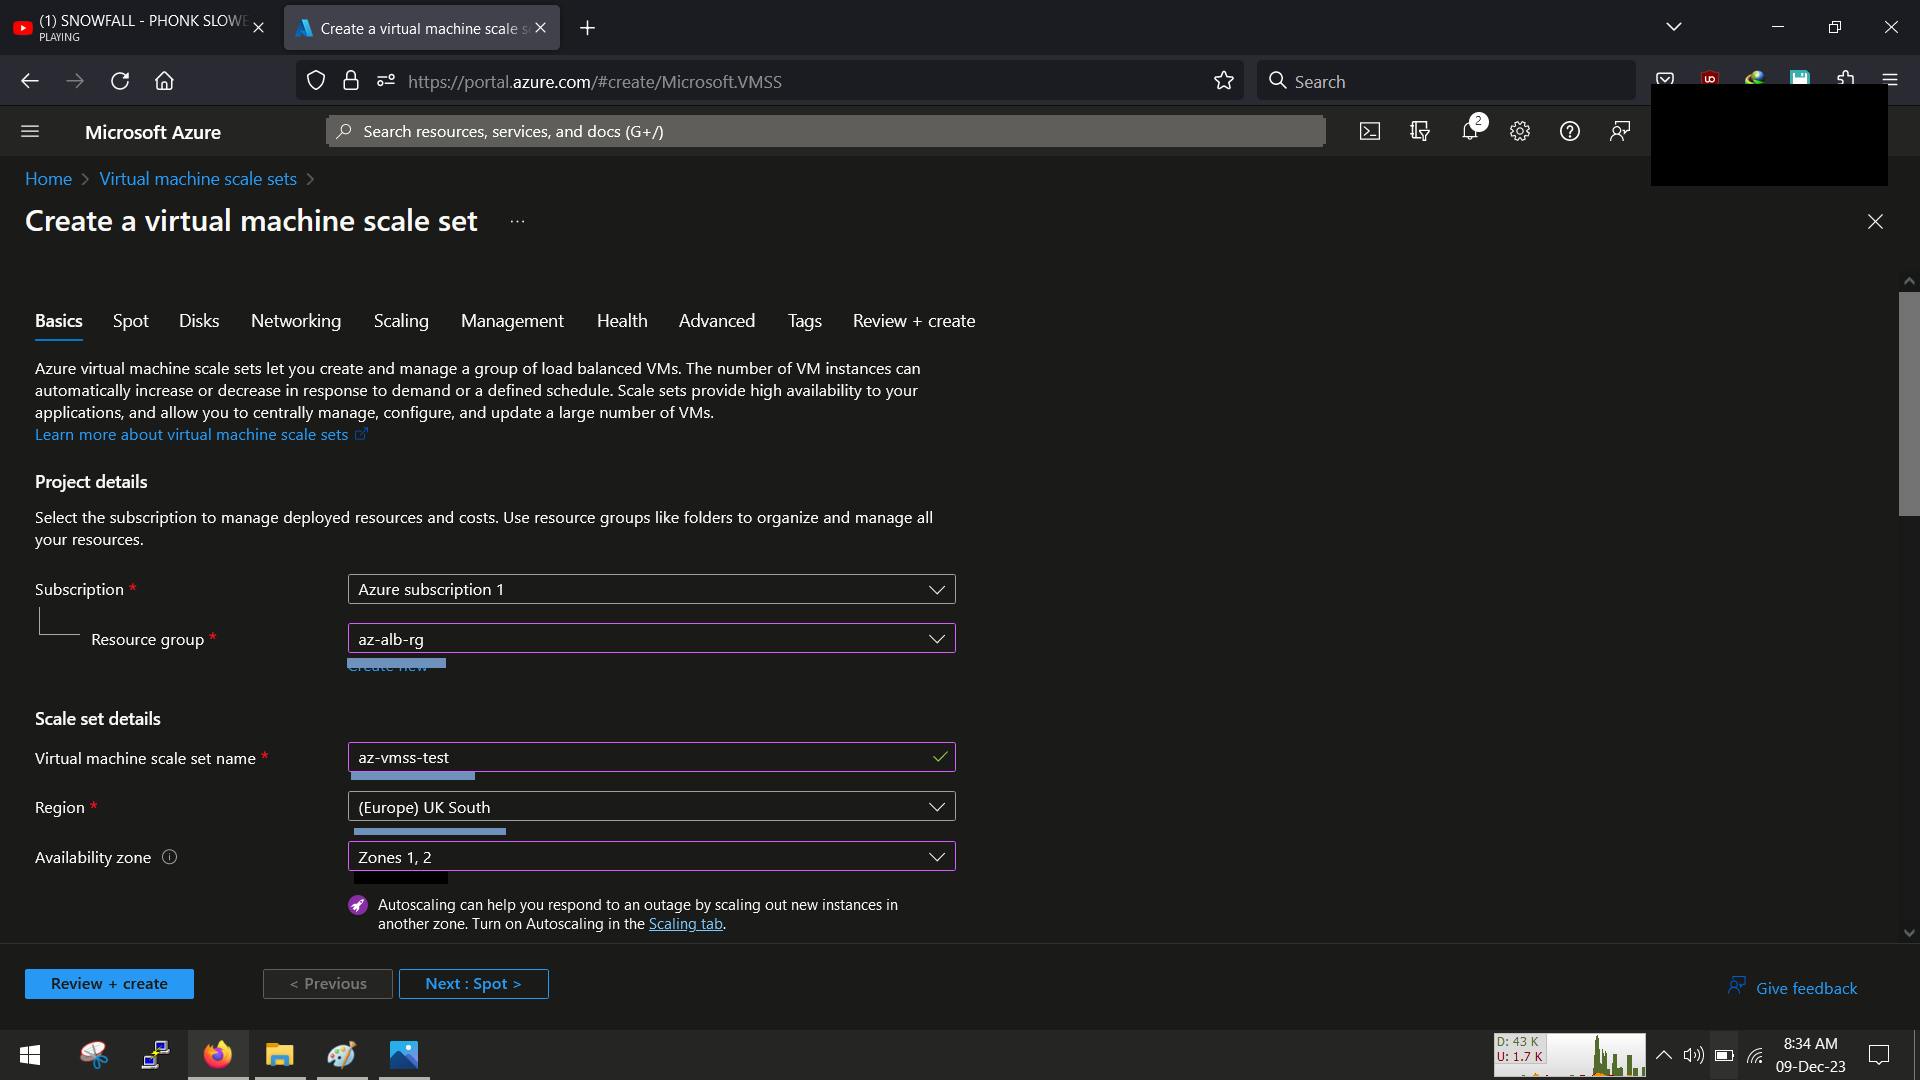
select the desired region and select 2 or more availability zone, this will help us achieve HA
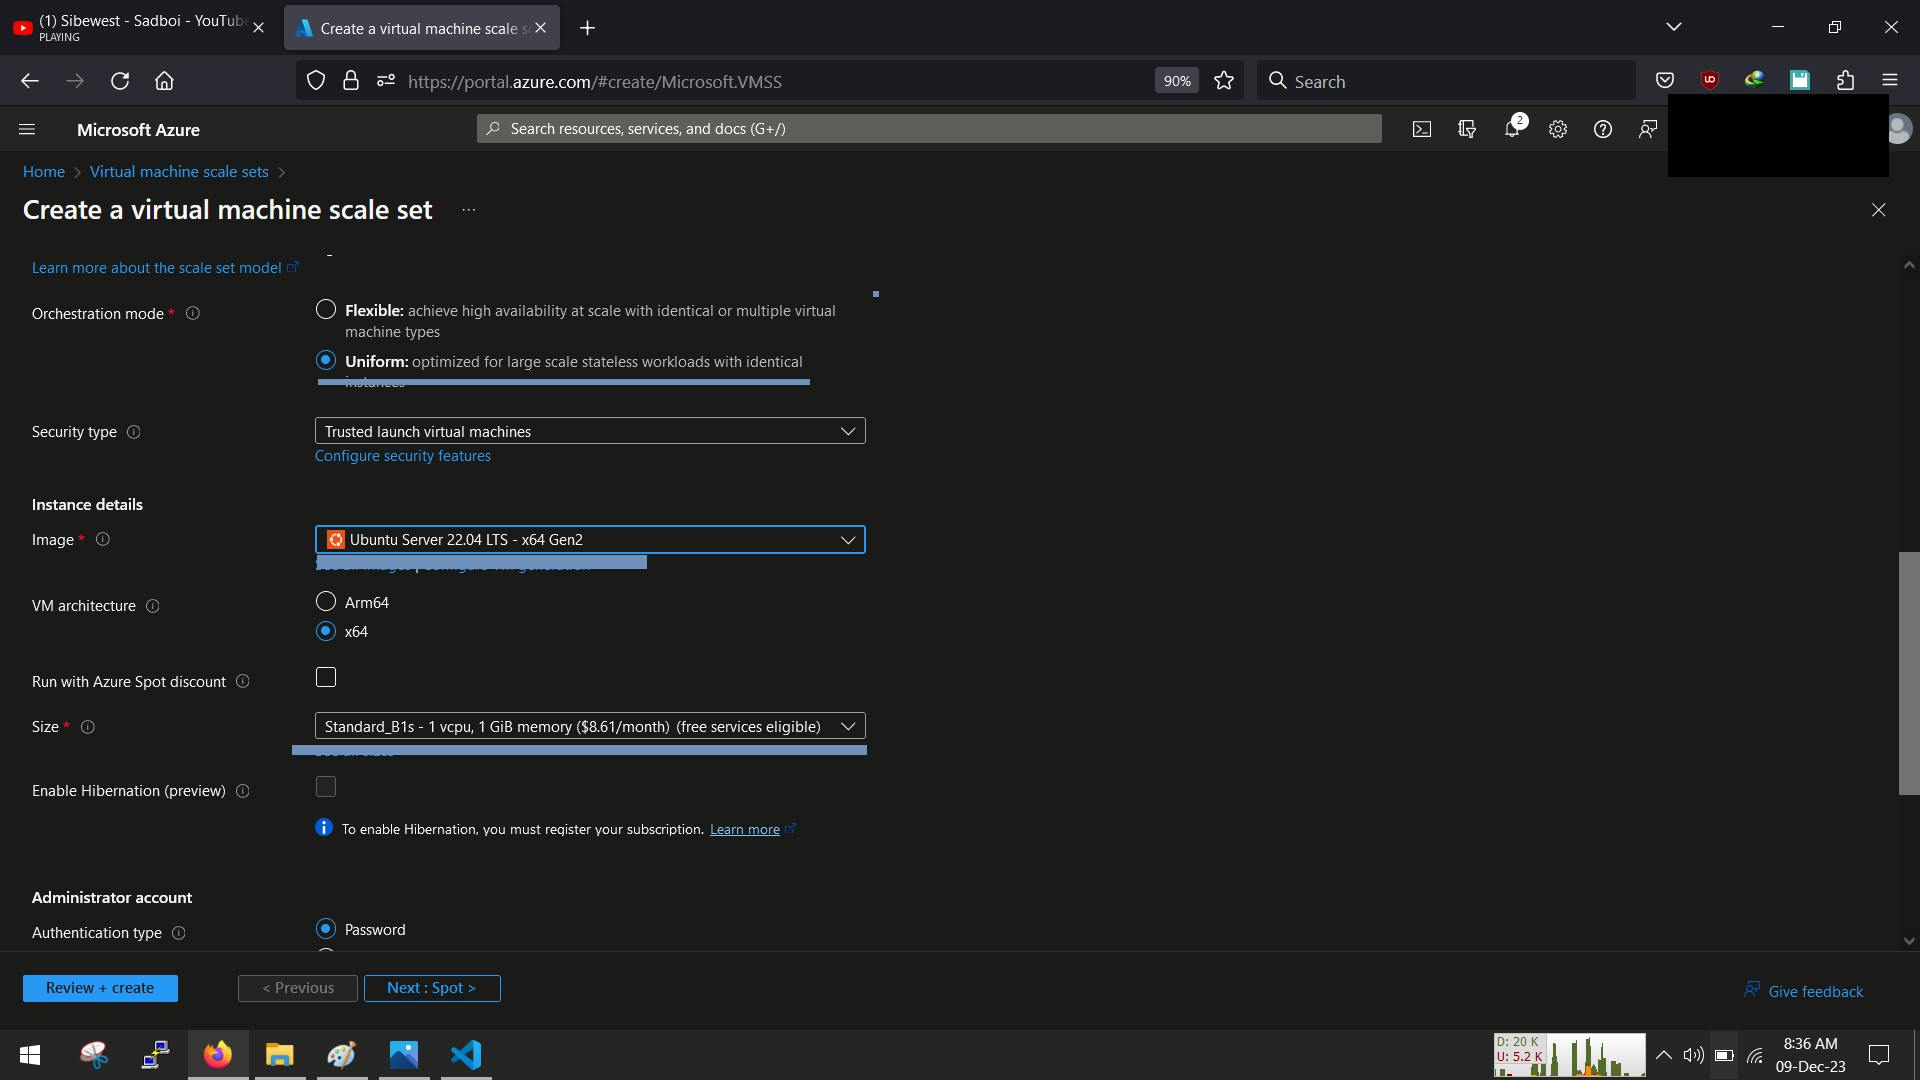
for the orchestration mode we will set it to "uniform" mode and choose the OS and size with username and password
for the networking, select the custom VPC we created and set the NIC to not have public IP
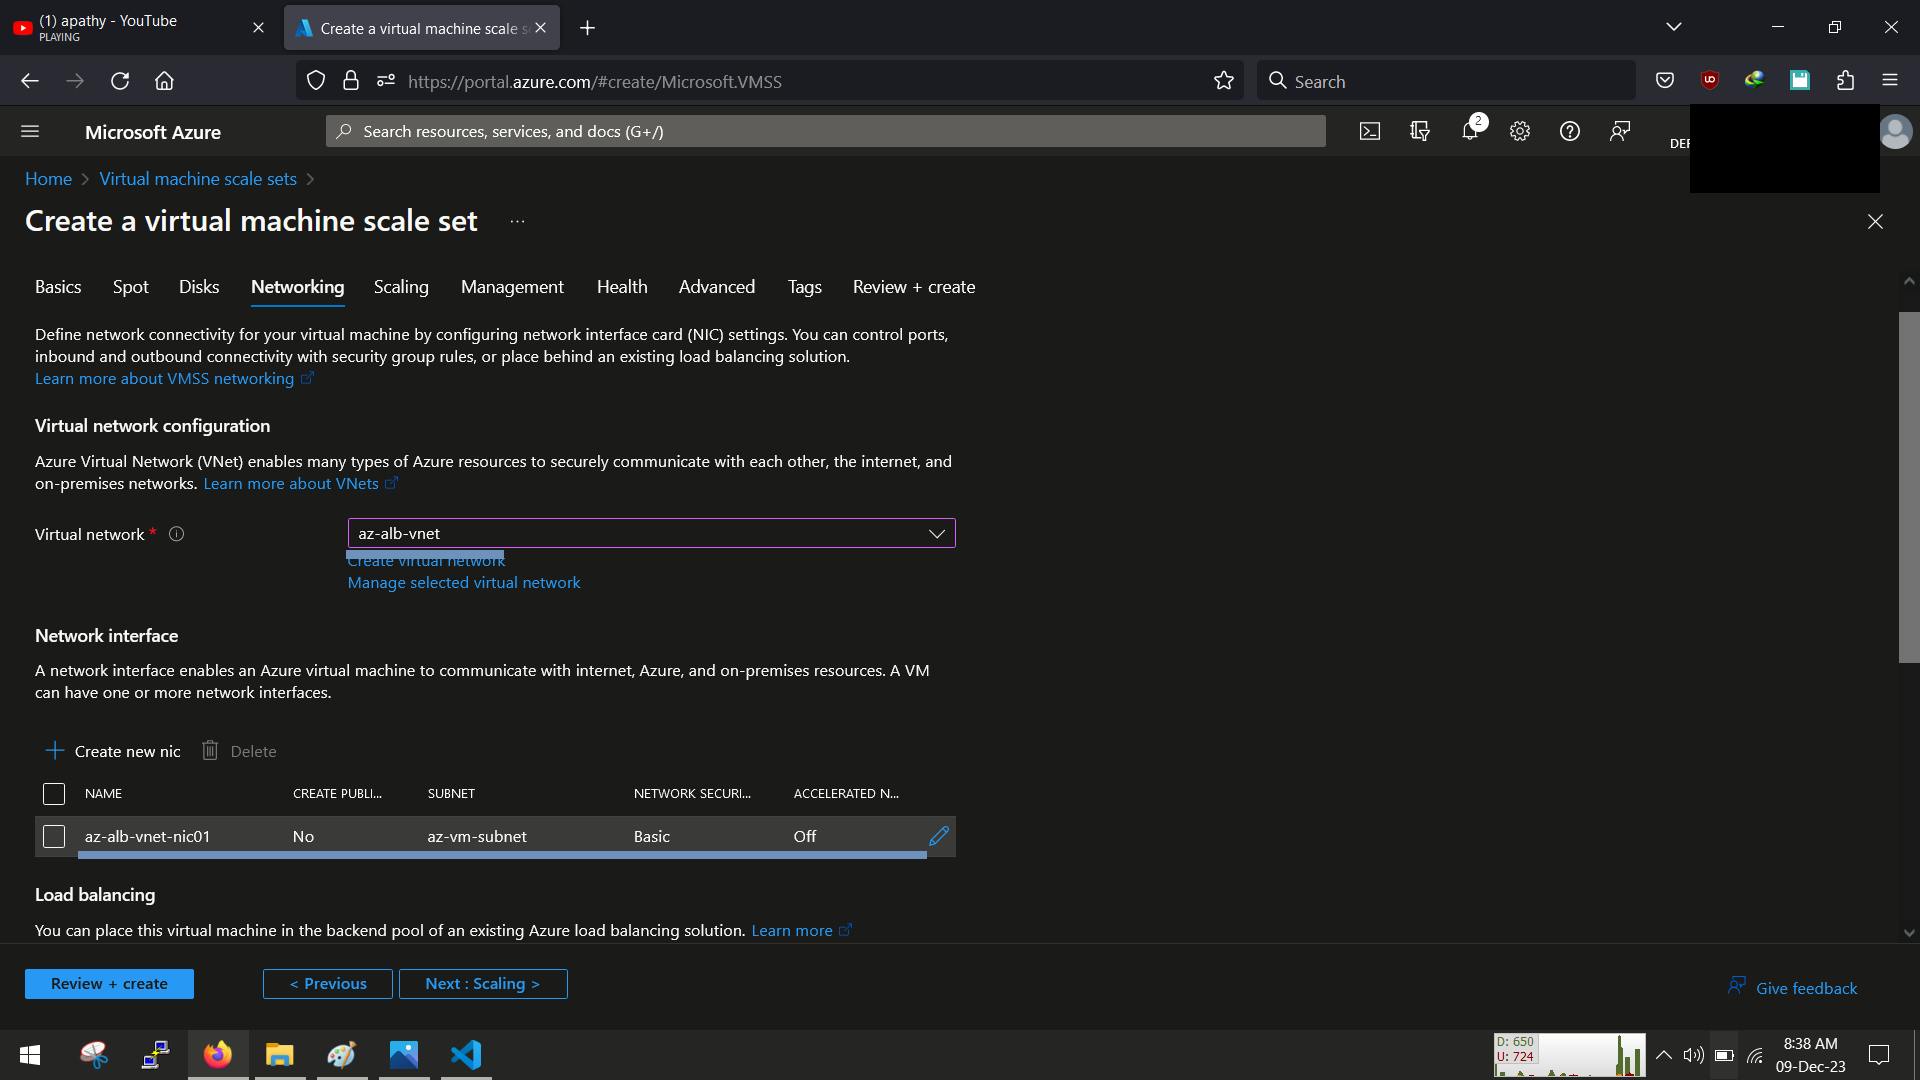
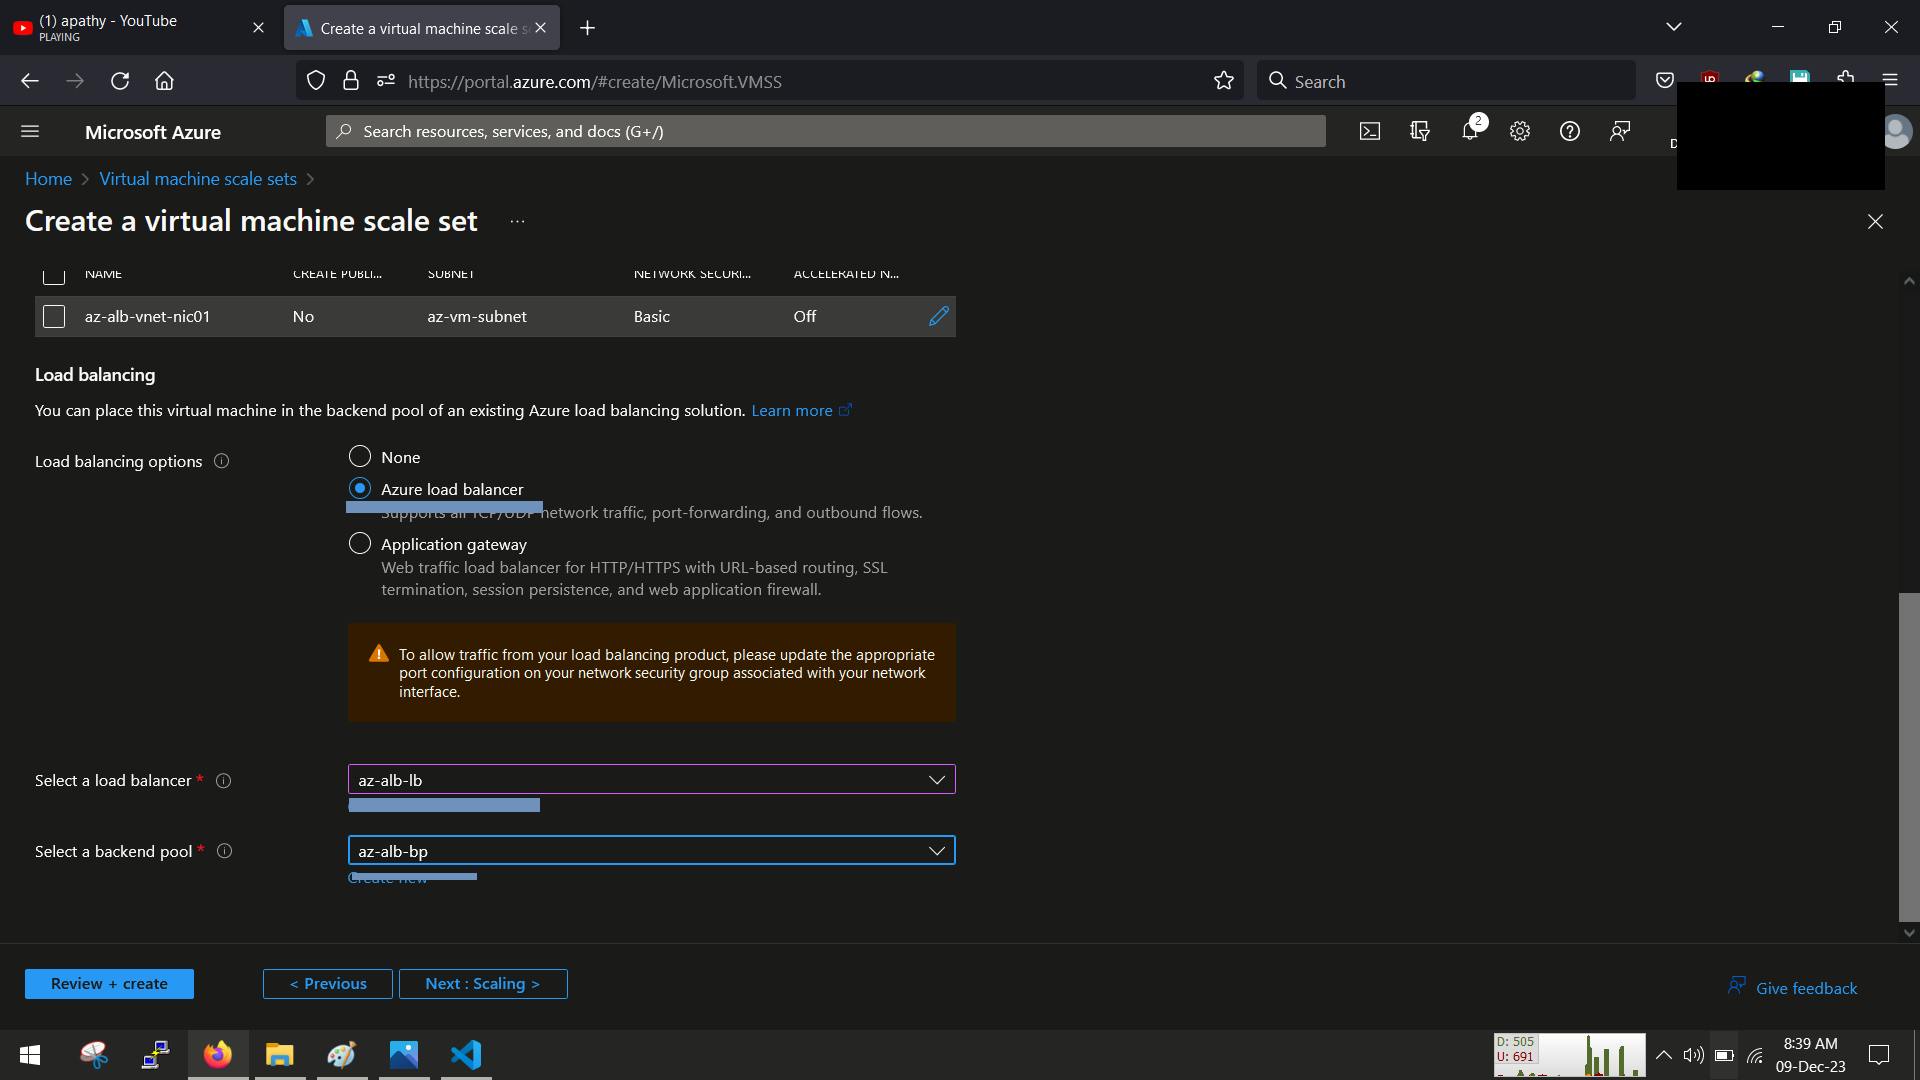
as for the load-balancer section, we will azure load-balancer and select the load-balancer and the back-end pool we created earlier
The next tab is for handling auto-scaling, here are the metrics we are going to use to hand scaling:
- initial count = 2
- scaling policy = custom
- Min no of instance = 2
- max no of instance = 3
- Scale out when CPU utilization is 90% for 30mins
- no of instance to add = 1
Nothing to do at the management tab to skip to health and enable application health check

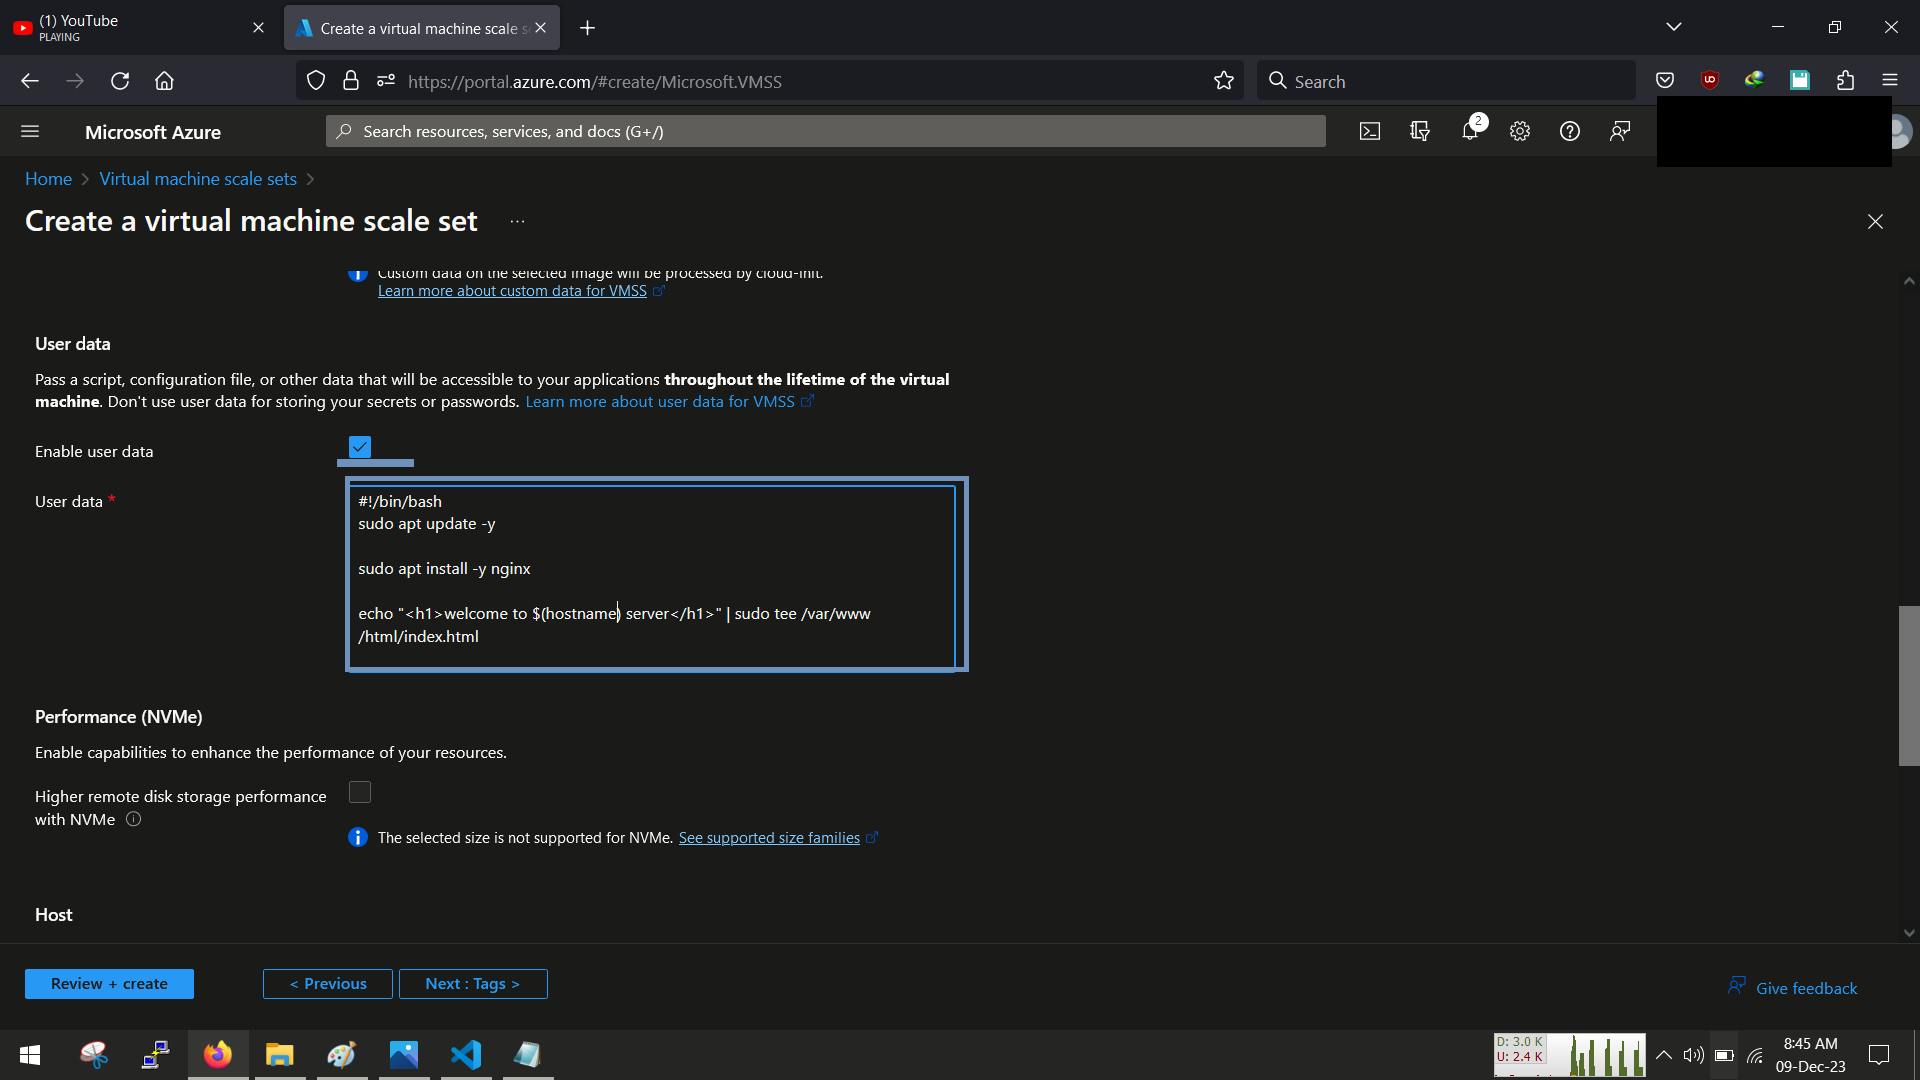
For the advance tab, scroll down to user data and input the custom template and then click "review+create"
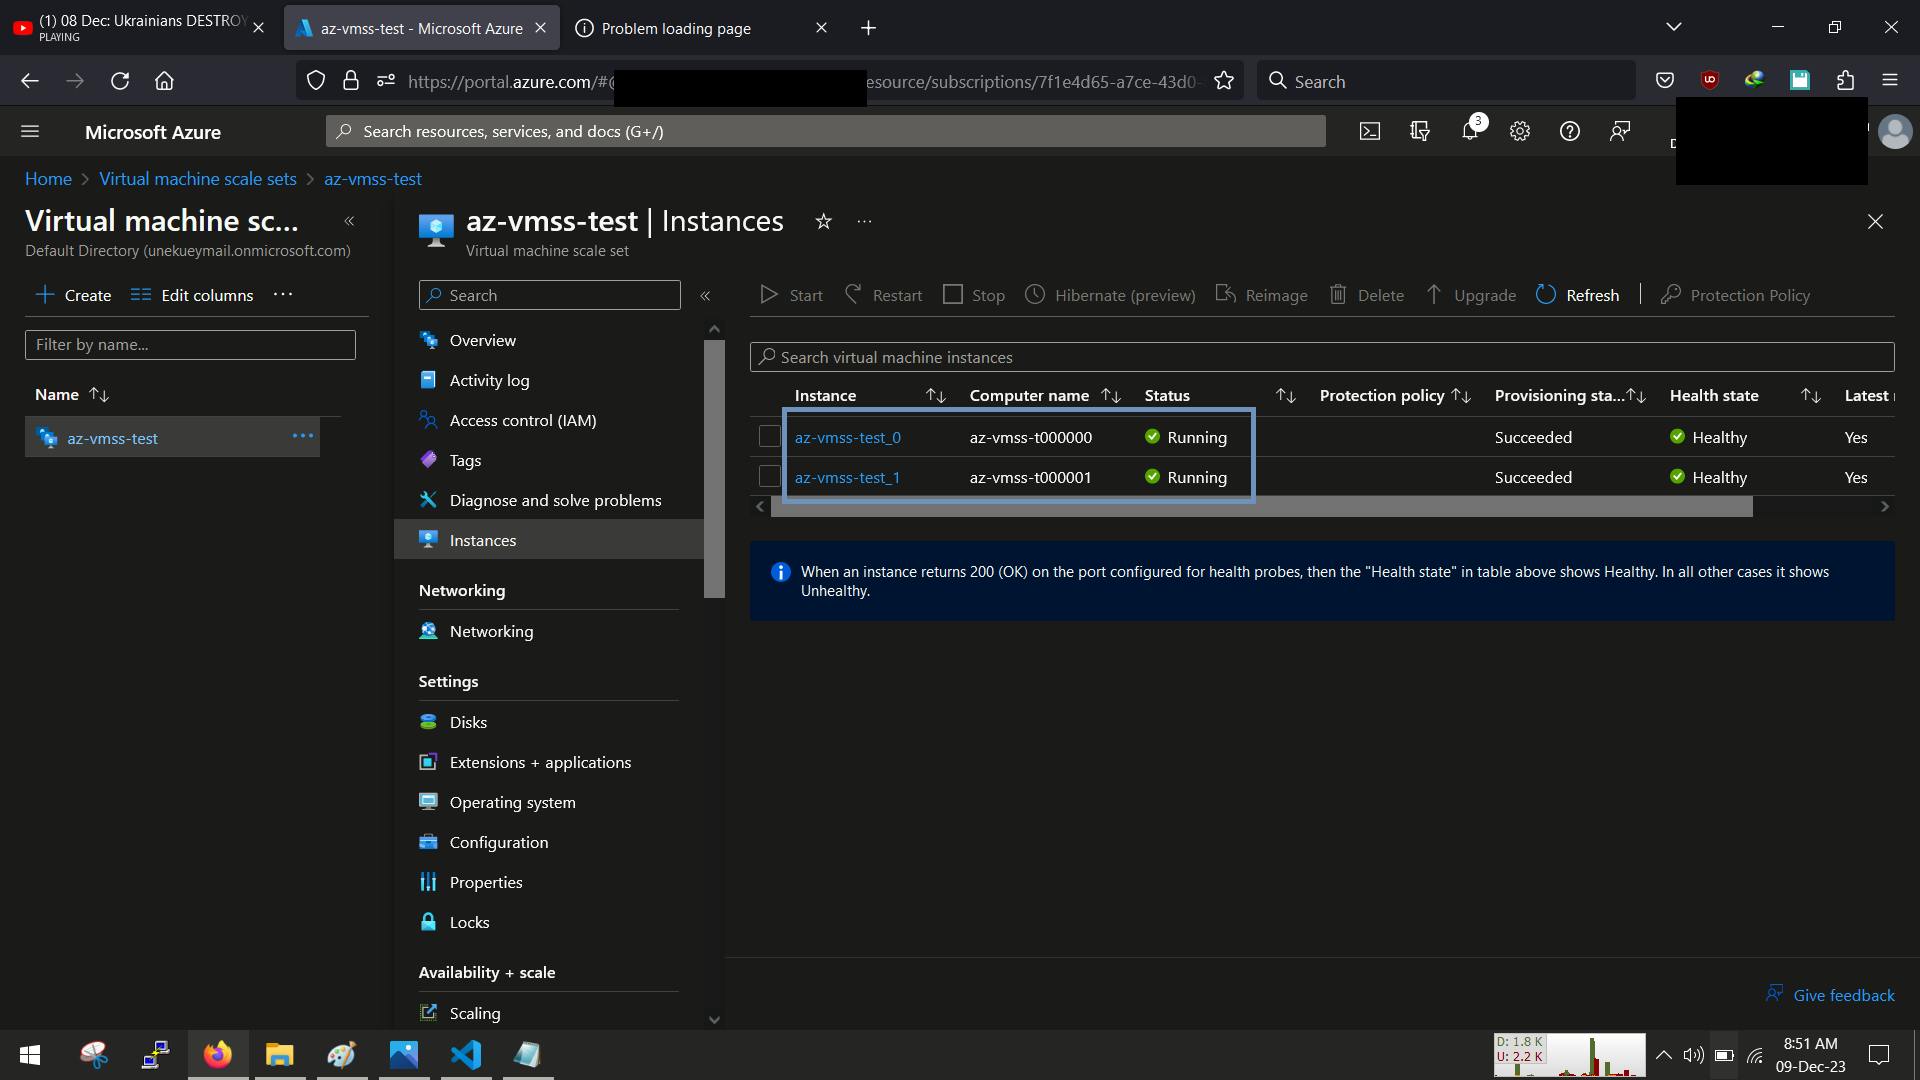
Once that's done we should see our VM with 2 already running
Step 4. Test out the load-balancer
Now that we have everything set up we can now go ahead and test out the load-balancer
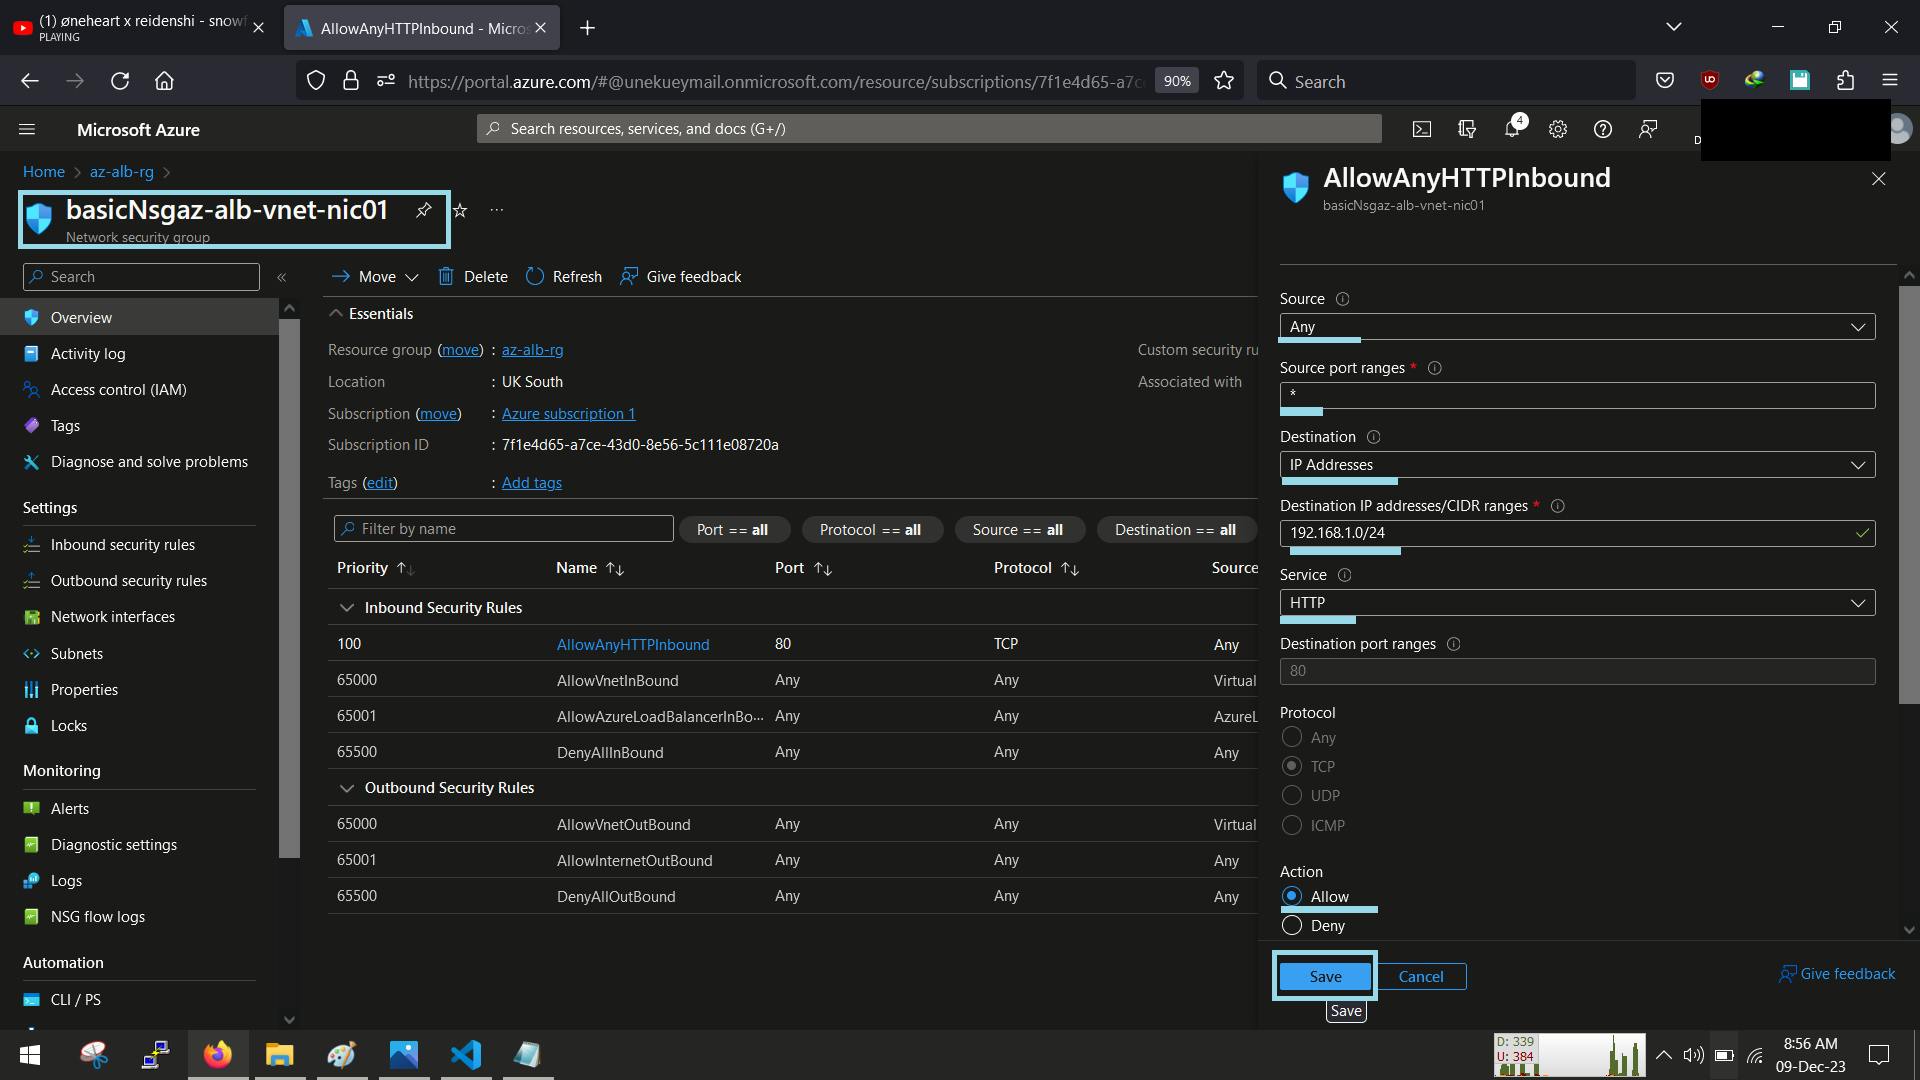
Before we proceed we have an important step to do,so that our VMSS and load-balancer can accept traffic. Proceed to the NSG and open only port 80 to accept HTTP traffic
we can now go ahead and open the IP-address of the load-balancer on our browser
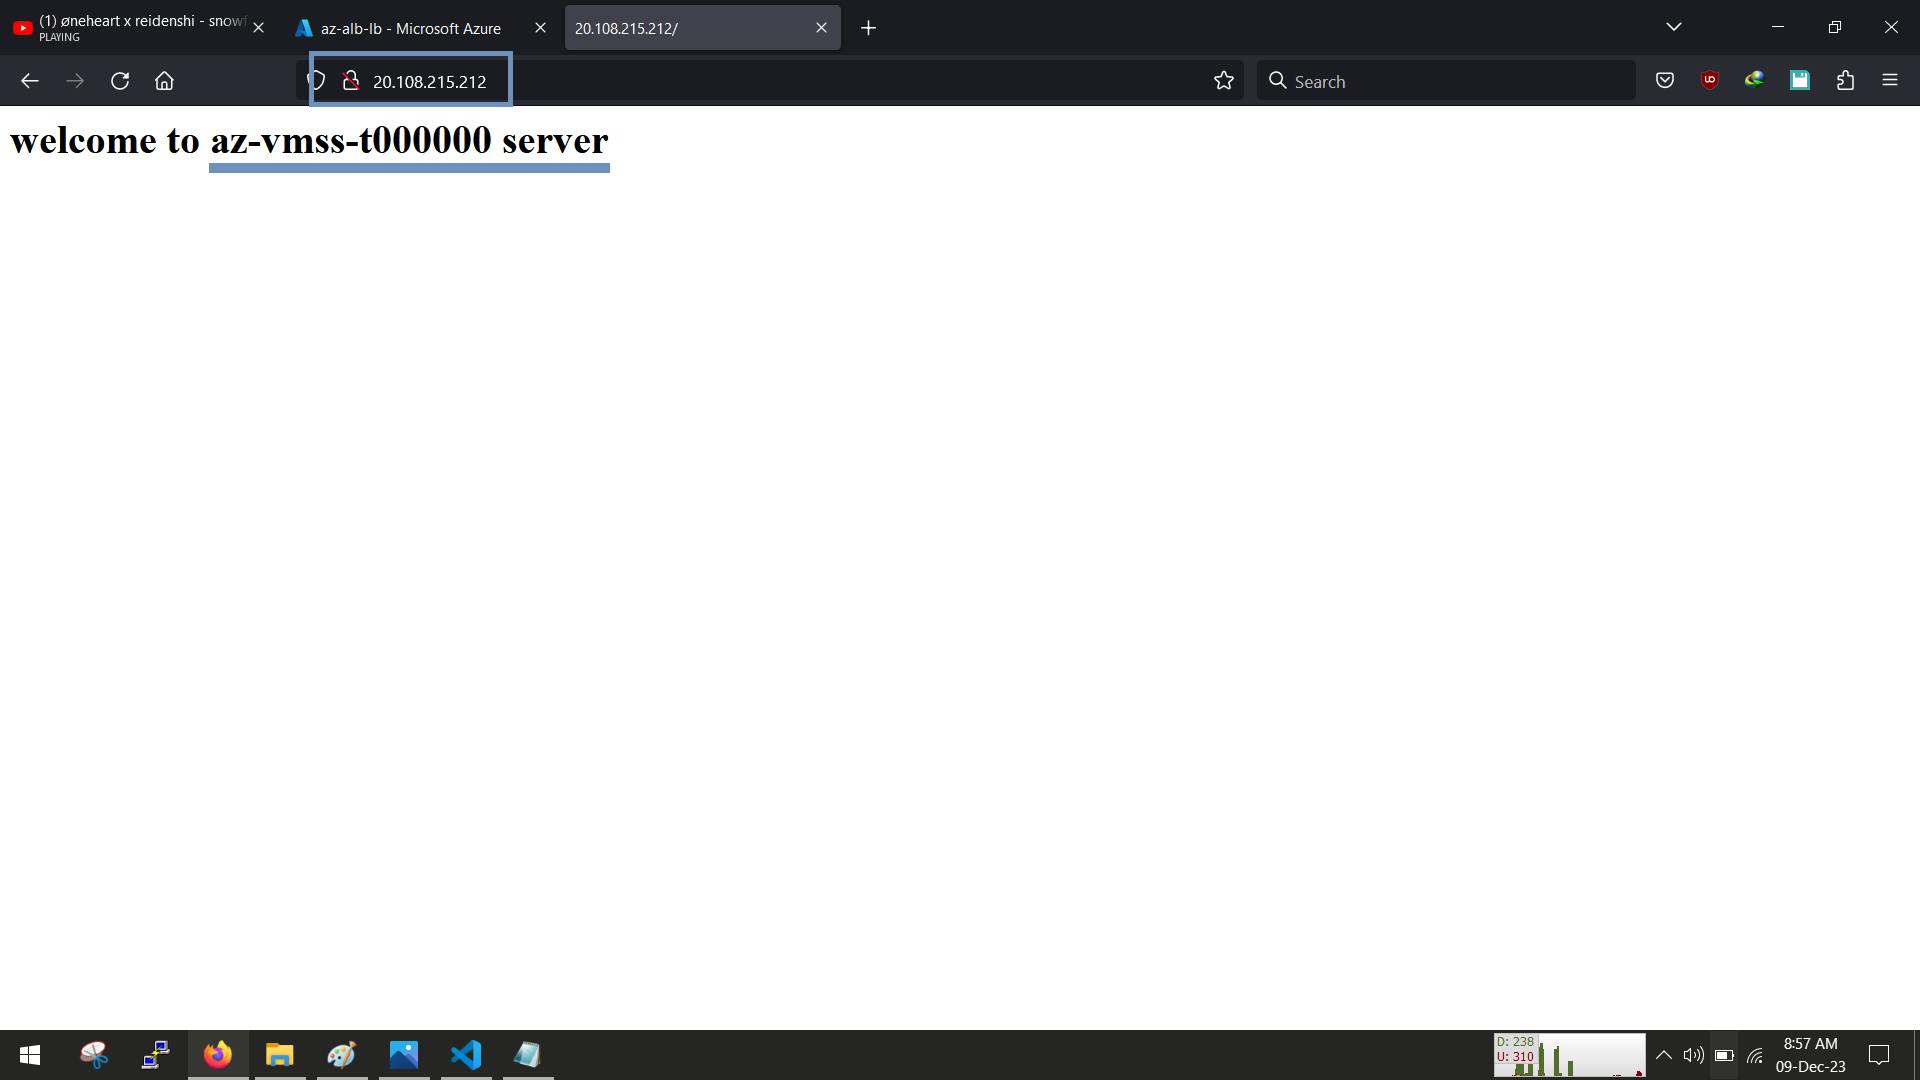
We can see the host-name of one of the VM in the VMSS, now refresh until you see the host-name of the other VM
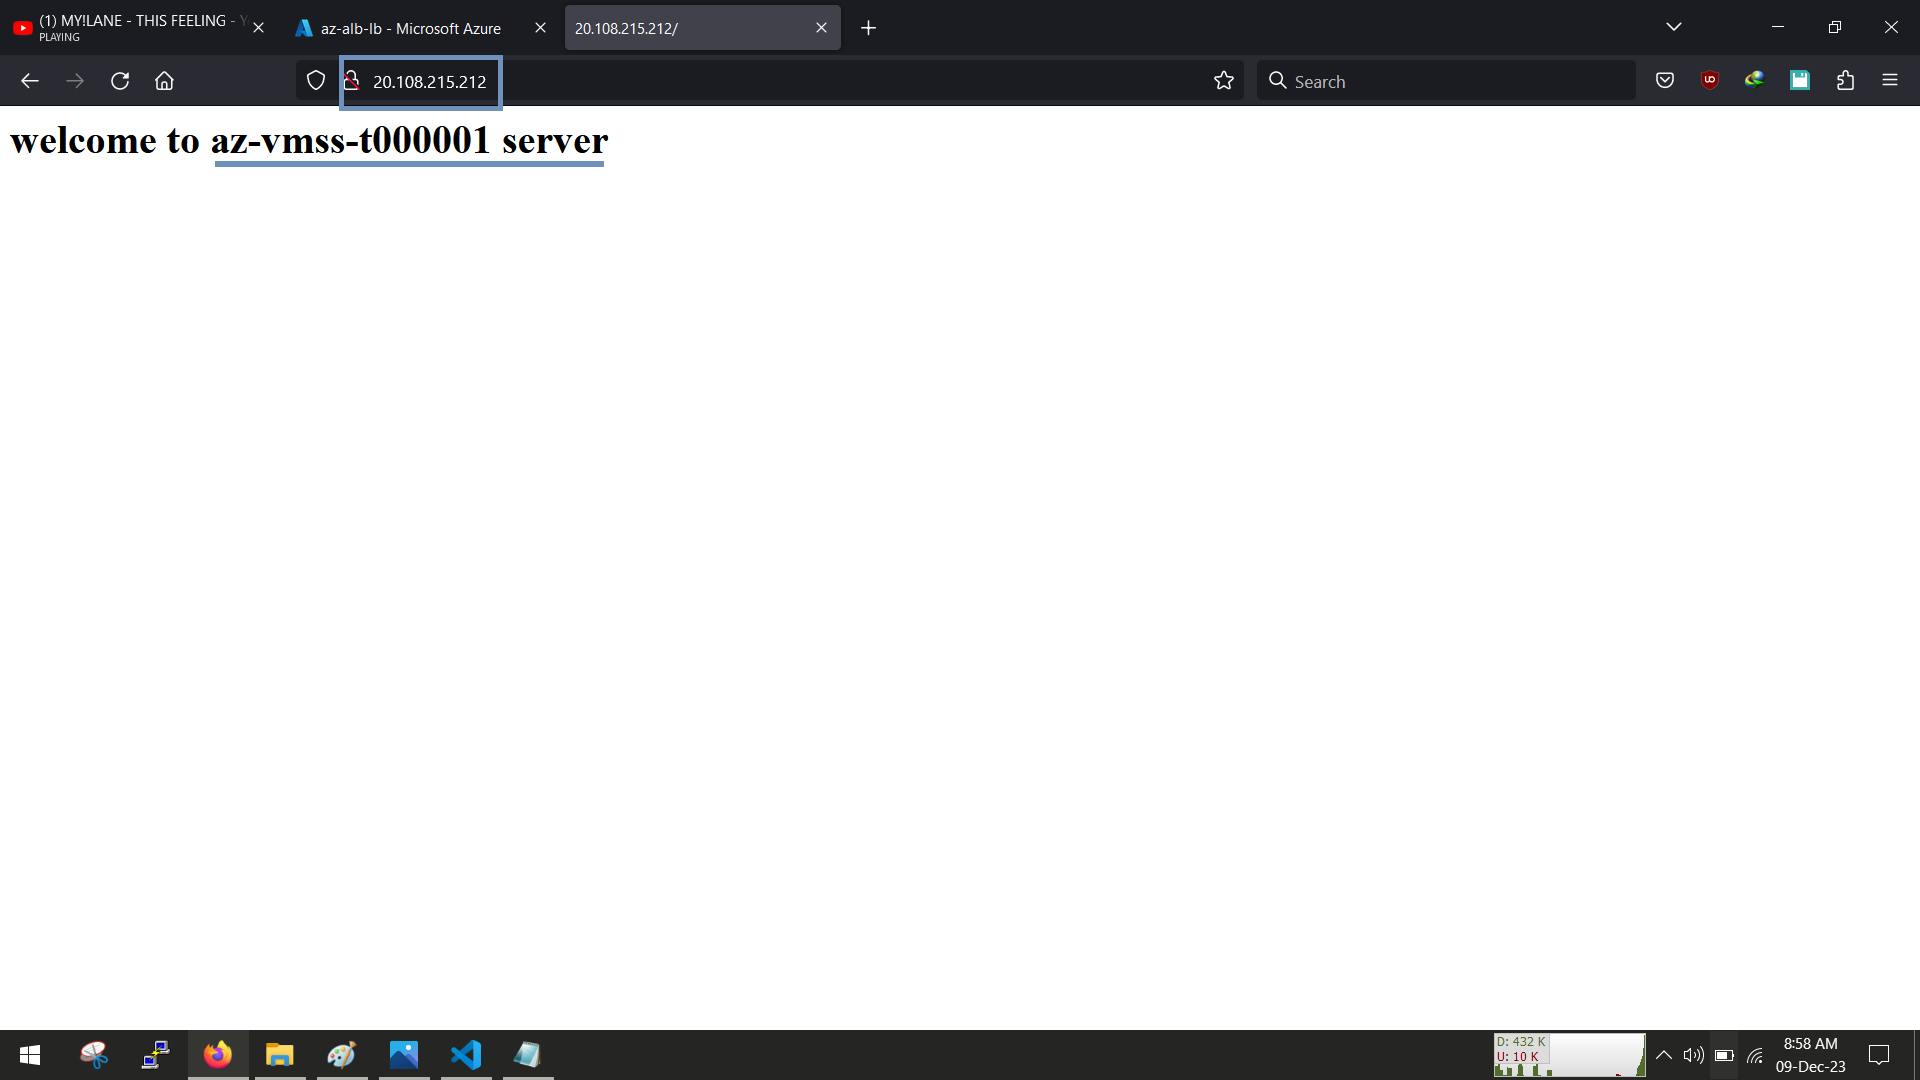
Great, our load-balancer is working, and evenly distributing traffic between each vm and more as it scales up in the VMSS
Enjoy!!!
🚧🚧🚧Don't forget to delete all your resources when you are done!🚧🚧🚧